Ready to pick a tumbler? Our guide to the best rock tumblers compares 10 models across every budget.
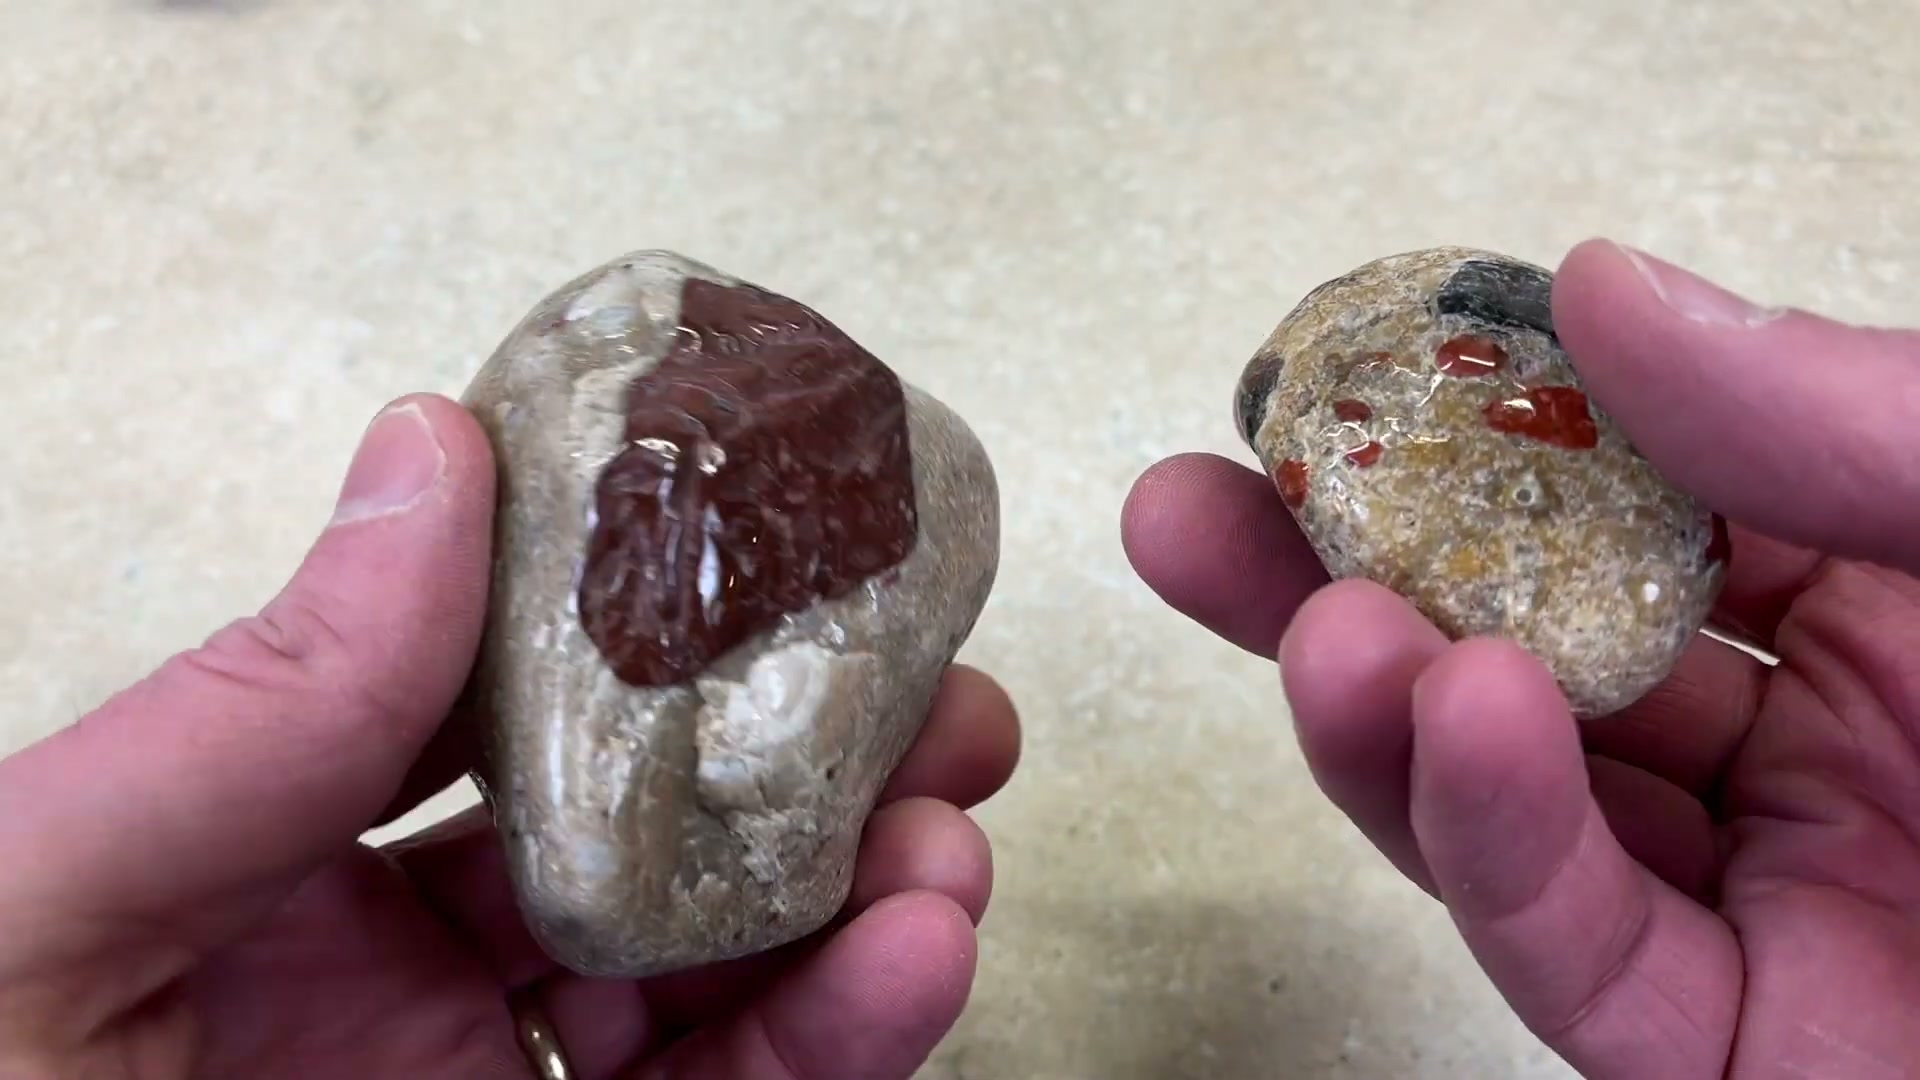
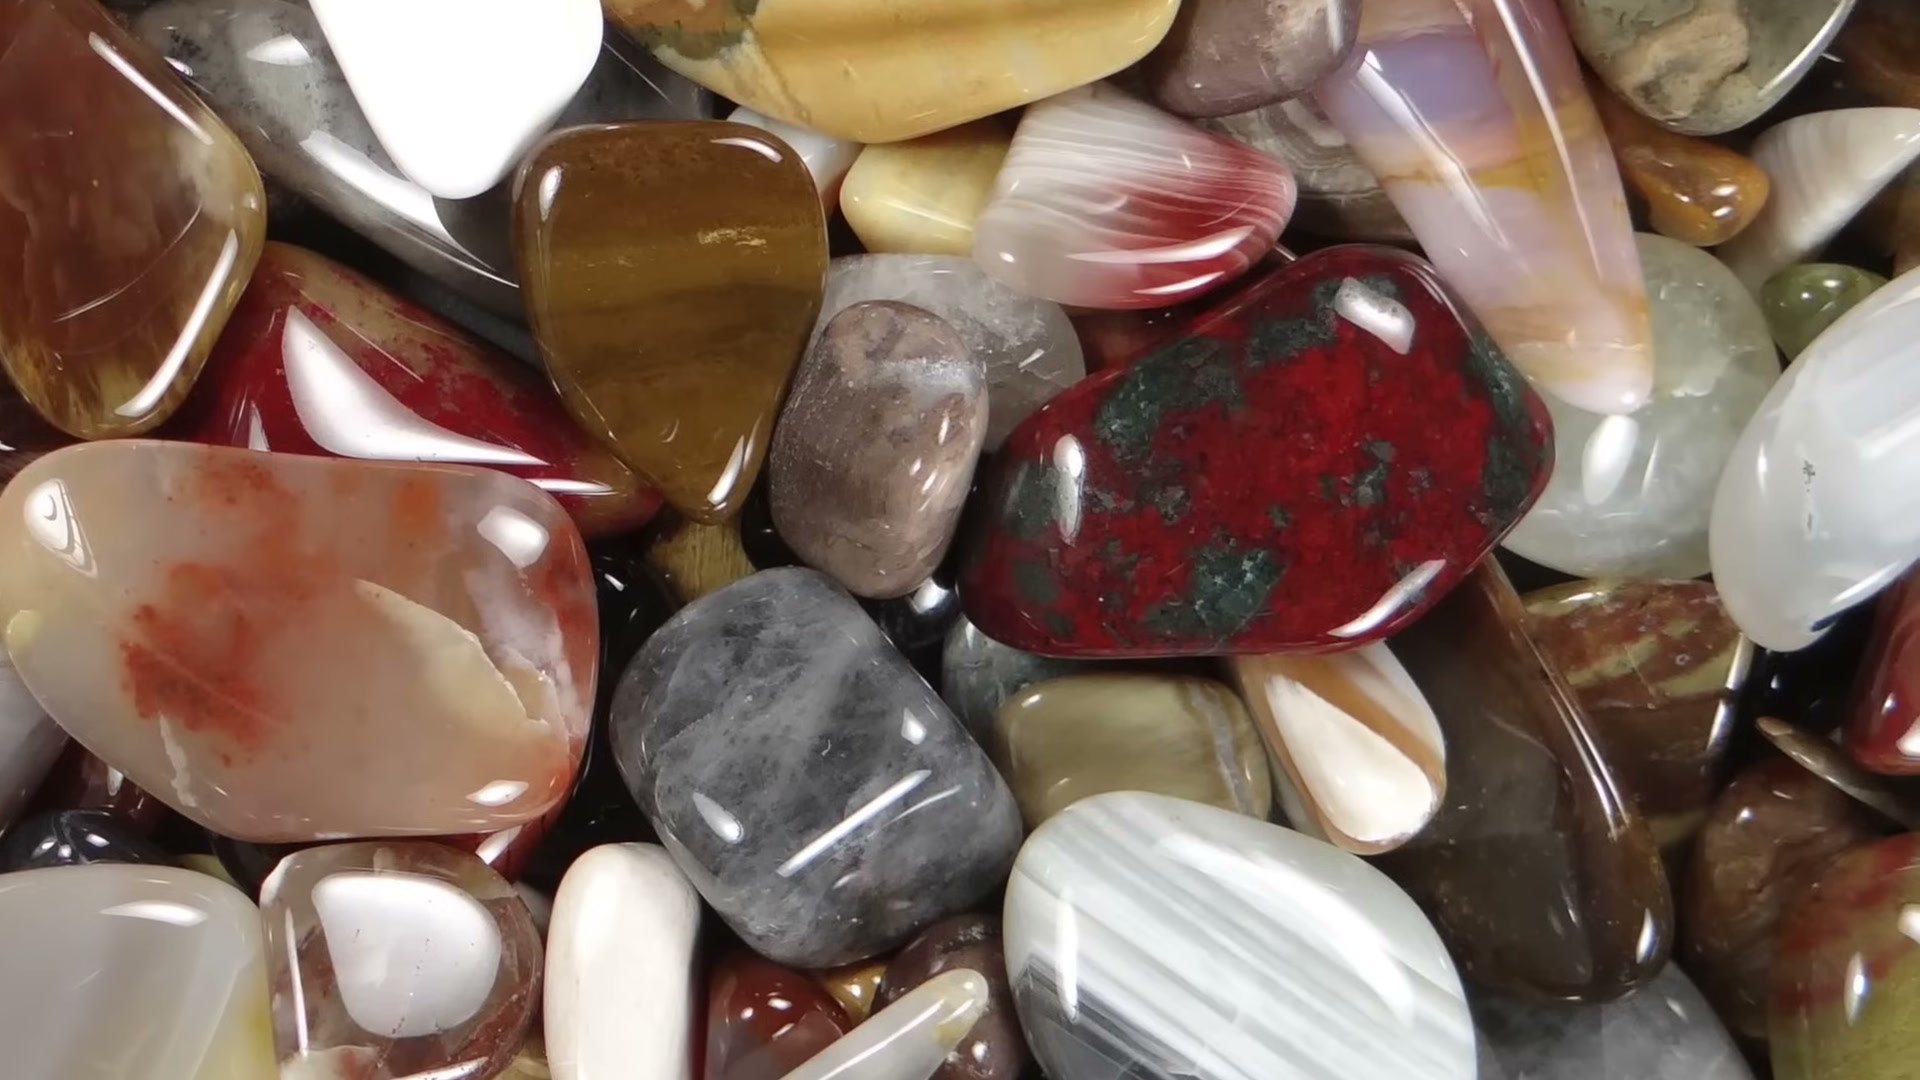
You drop a handful of dull, scratched-up rocks into a plastic barrel. Four weeks later, you pull out stones so smooth and glossy they look like they belong in a jewelry store. What happened in between?
Rock tumbling is one of those hobbies that feels like magic until you understand the science behind it. And once you do, you start getting way better results.
Here’s exactly how rock tumblers work, what’s happening at each stage, and why certain rocks come out looking incredible while others end up disappointing.
What Is Rock Tumbling?
Rock tumbling is the process of smoothing and polishing rough stones by simulating what happens in nature – just thousands of times faster.
Think about river rocks. They start out jagged and rough. Over decades, water pushes them against sand, gravel, and each other. That constant friction slowly rounds the edges, smooths the surface, and eventually produces those satisfying stones you find along riverbanks.
A rock tumbler does the same thing in your garage. Instead of decades, it takes about 4-6 weeks. Instead of a riverbed, you use a rotating barrel, water, and progressively finer abrasive grit.
The Two Types of Rock Tumblers
Before diving into the mechanics, you should know there are two basic designs. Each works differently.
Rotary Tumblers
This is the classic design most people picture. A rubber-lined barrel sits on two rotating shafts. A motor spins the shafts, and the barrel rolls continuously.
Inside, rocks tumble over each other in a cascading motion. Picture a clothes dryer in slow motion. As the barrel rotates, rocks ride up one side, then slide and roll back down. That constant rock-on-rock contact, combined with abrasive grit and water, grinds away the surface layer by layer.
Rotary tumblers produce rounded, smooth stones with a natural look. They’re the most popular choice for beginners because they’re affordable, simple to operate, and forgiving of mistakes.
Vibratory Tumblers
Vibratory tumblers take a completely different approach. Instead of rotating, the bowl vibrates rapidly, creating a scrubbing action between the rocks.
The vibration causes rocks to rub against each other and the abrasive media constantly. It’s more like aggressive sandpaper than a river. Because the rocks don’t cascade and tumble, vibratory tumblers preserve the original shape of the stone. You get a polished surface without rounding off the natural edges.
Vibratory tumblers also work faster, often finishing in 1-2 weeks instead of 4-6. But they’re louder, more expensive, and less forgiving with rock selection.
The Science of Abrasion: Why Grit Matters
The real secret to rock tumbling isn’t the machine. It’s the grit.
Silicon carbide grit is the standard abrasive used in rock tumbling. It’s one of the hardest manufactured materials available, rating around 9.5 on the Mohs hardness scale. That means it can scratch and grind almost any rock you throw at it.
Here’s the key principle: each stage uses progressively finer grit particles. Coarse grit has large, jagged particles that remove material quickly. Fine grit has tiny particles that create an increasingly smooth surface. By the final stage, the particles are so small they essentially polish the stone at a microscopic level.
This is the same principle behind sandpaper. You wouldn’t try to get a mirror finish on wood using 60-grit sandpaper alone. You start rough and work your way to fine. Rock tumbling just automates that process.
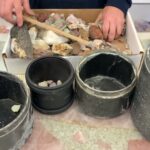
The Four Stages of Rock Tumbling (Step by Step)
Every tumbling cycle follows the same four-stage progression. Skip a stage, rush a stage, or contaminate a stage, and you’ll end up with scratched, dull rocks. Patience is everything.
Stage 1: Coarse Grind (60/90 Grit)
This is the heavy lifting. Coarse silicon carbide grit (60/90 mesh) does the shaping work. It grinds off sharp edges, removes pits, and begins rounding the stones.
The barrel runs continuously for about 7 days. During this time, the grit particles smash between tumbling rocks, chipping away at the surface. You’ll lose 10-20% of each rock’s mass in this stage alone.
When you open the barrel after Stage 1, the rocks should feel noticeably smoother. No more sharp points or jagged edges. If they still feel rough, run them for another few days before moving on.
Stage 2: Medium Grind (120/220 Grit)
Stage 2 refines the shape and removes the scratches left by Stage 1. The 120/220 grit is about half the particle size of the coarse grit.
This stage runs for another 7 days. The rocks come out smoother, with a matte finish. You should be able to run your fingers over them and feel zero rough spots. If any pits or scratches remain, they’re locked in permanently. Finer grit can’t remove defects that coarser grit missed.
This is where most beginners make their first mistake: rushing through Stage 2. If the rocks aren’t perfectly smooth at this point, go back to Stage 1 and redo it.
Stage 3: Pre-Polish (500 Grit)
Now you’re getting into the fine work. The 500-grit particles are almost powder-fine. They smooth out the tiny scratches left by Stage 2 and prepare the surface for the final polish.
Another 7 days in the barrel. When the rocks come out, they should have a slight sheen. Not a full polish yet, but you can start to see color and pattern detail that was hidden under the rough exterior.
Stage 4: Final Polish (Aluminum Oxide or Cerium Oxide)
The final stage uses a polishing compound instead of silicon carbide. Aluminum oxide is the most common choice. The particles are incredibly fine, measured in microns rather than mesh sizes.
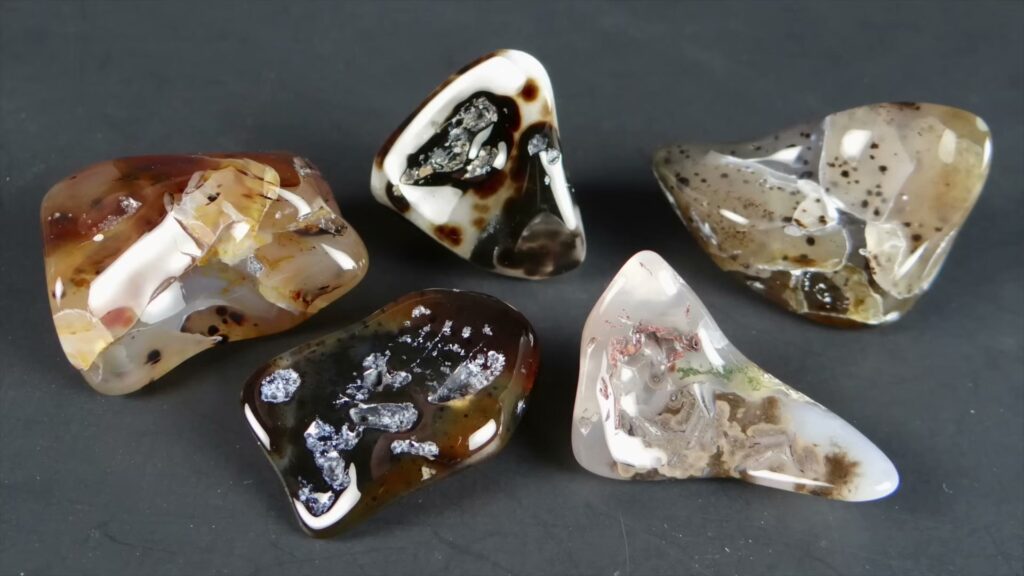
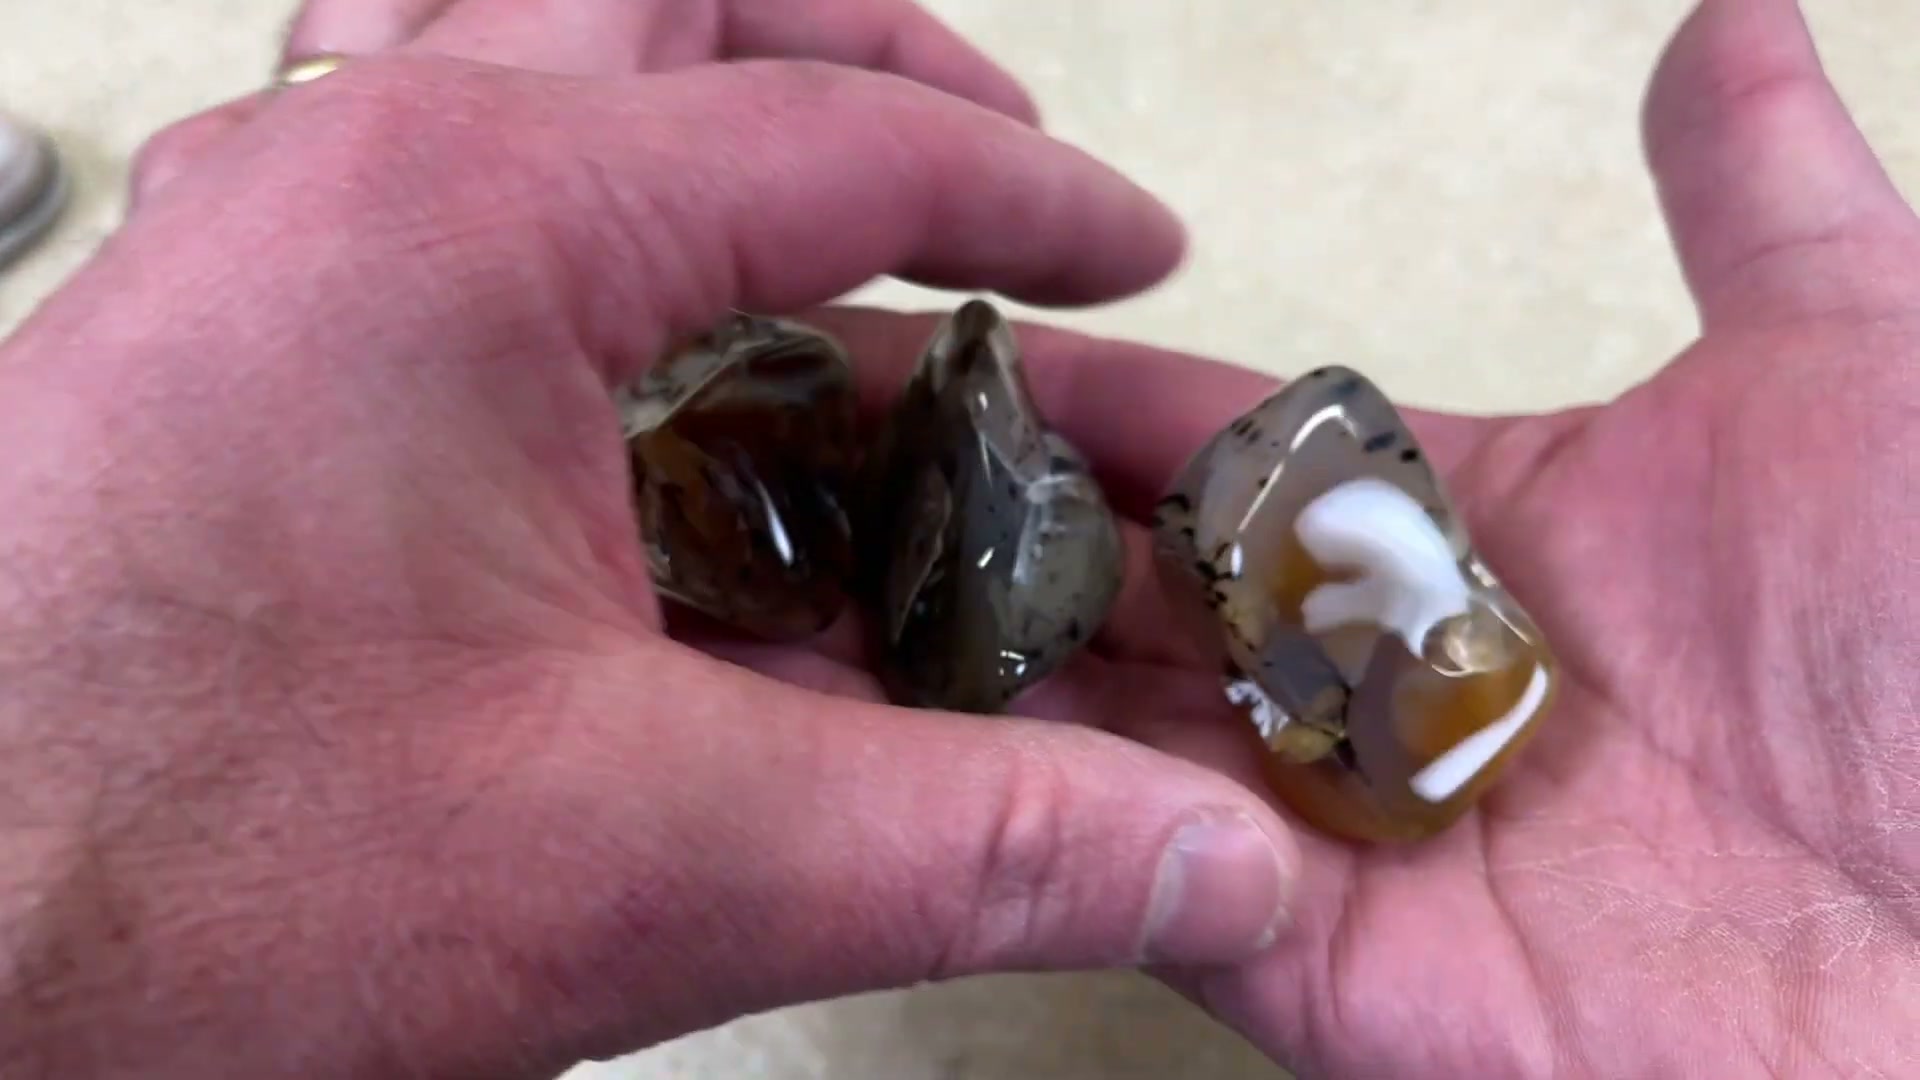
This stage doesn’t remove material in any meaningful way. Instead, it smooths the surface at a near-molecular level. Light reflects evenly off the polished surface, producing that glossy, wet-look finish that makes tumbled stones so satisfying.
After 7 more days, you open the barrel to find stones that look completely transformed from where they started.
What Makes a Rock Good for Tumbling?
Not every rock tumbles well. The best candidates share a few characteristics.
Hardness matters. Rocks between 6 and 8 on the Mohs scale work best. Quartz-based stones like agate, jasper, and chalcedony are ideal. Softer rocks (calcite, fluorite) will grind away too quickly and can clog your grit. Harder stones take a beautiful polish.
Similar hardness in each batch. Never mix soft and hard rocks in the same barrel. The hard rocks will grind the soft ones into mud while barely changing themselves. Keep your batches consistent.
Density and texture. Solid, fine-grained rocks polish best. Porous rocks absorb water and grit, making them impossible to polish properly. Rocks with cracks or fracture lines will break apart during tumbling.
If you’re just starting out, buy a bag of pre-selected tumbling rough. It takes the guesswork out and gives you reliable results while you learn the process. A quality grit refill set will get you through multiple batches.
Common Problems and Why They Happen
Understanding the science helps you troubleshoot when things go wrong.
Rocks come out scratched: Cross-contamination between stages. Even a few coarse grit particles carried into Stage 3 will scratch your rocks. Wash everything thoroughly between stages, including the barrel, lid, and rocks.
No polish after Stage 4: Usually means Stage 2 or 3 wasn’t completed properly. Polishing compound can’t fix scratches – it can only enhance an already-smooth surface.
Rocks are shaped but dull: Some rock types simply don’t take a polish. Sandstone, granite, and most sedimentary rocks lack the crystalline structure needed for a glossy finish.
Barrel leaking: Slurry buildup on the lid seal. Clean the seal and barrel rim between stages. A small amount of leak is normal during the first few hours as the barrel builds up its slurry cushion.
Rocks cracking during tumbling: Rocks with internal fractures, or mixing rocks of very different hardness levels. Inspect your rocks before loading and do a scratch test if you’re unsure about hardness.
How Long Does the Whole Process Take?
A typical rotary tumbling cycle takes 4-6 weeks total:
- Stage 1 (Coarse): 7-10 days
- Stage 2 (Medium): 7-10 days
- Stage 3 (Pre-Polish): 7 days
- Stage 4 (Final Polish): 7 days
Vibratory tumblers cut this roughly in half. Some experienced tumblers can get good results in 2-3 weeks total by knowing exactly when each stage is complete.
The tumbler runs 24/7 during each stage. It uses about as much electricity as a light bulb, so running costs are minimal. A good 4-step grit set will handle several pounds of rock and costs under $20.
Burnishing: The Optional Fifth Step
Some tumblers add a burnishing step after Stage 4. This involves running the polished rocks with a small amount of soap, water, and plastic or ceramic pellets for 12-24 hours.
Burnishing cleans off any remaining polishing compound residue and adds a final layer of shine. It’s not strictly necessary, but many hobbyists swear by it as the finishing touch.
Frequently Asked Questions
Can you turn off a rock tumbler and restart it later?
Yes. Stopping and restarting won’t damage your rocks or ruin the batch. The grit keeps working as long as there’s moisture in the barrel. Many people pause their tumblers for travel or appointments without any issues. Just make sure the lid stays sealed so the barrel doesn’t dry out.
How loud are rock tumblers?
Rotary tumblers produce a low, constant rumbling sound, roughly similar to a dishwasher. Most people put them in a garage or basement. Rubber barrel liners help dampen the noise significantly. Vibratory tumblers are noticeably louder and produce a higher-pitched buzz.
Can you tumble rocks you find outside?
Absolutely. River rocks, beach stones, and rocks from hiking trails can all be tumbled. The key is picking rocks that are hard enough (quartz, agate, jasper) and don’t have cracks or porous textures. Avoid limestone, sandstone, and anything that crumbles when you scratch it with a nail.
Do rock tumblers use a lot of electricity?
No. Most hobby tumblers draw between 15-25 watts, which is less than a standard light bulb. Running a tumbler 24/7 for a month adds roughly $1-3 to your electricity bill, depending on your local rates.
What’s the difference between silicon carbide and aluminum oxide grit?
Silicon carbide is harder and more aggressive. It’s used for the grinding stages (1-3) where you need to remove material. Aluminum oxide is slightly softer and used for the final polishing stage, where you want to smooth rather than grind.
The Role of Water and Slurry
Water is the unsung hero of rock tumbling. It serves three critical purposes inside the barrel.
First, water acts as a lubricant. Without it, rocks would chip and fracture instead of grinding smoothly. The water cushions impacts and allows the grit to slide between stones rather than gouging them.
Second, water carries the grit. Dry grit would settle to the bottom of the barrel and do almost nothing. Mixed with water, it forms a slurry that coats every rock surface evenly. This ensures consistent grinding across the entire batch.
Third, the slurry suspends waste material. As rocks grind down, they produce fine rock dust. The slurry carries this dust away from the grinding surfaces, preventing it from clogging the grit and slowing the process. That gray sludge you pour out between stages? That’s pulverized rock mixed with spent grit.
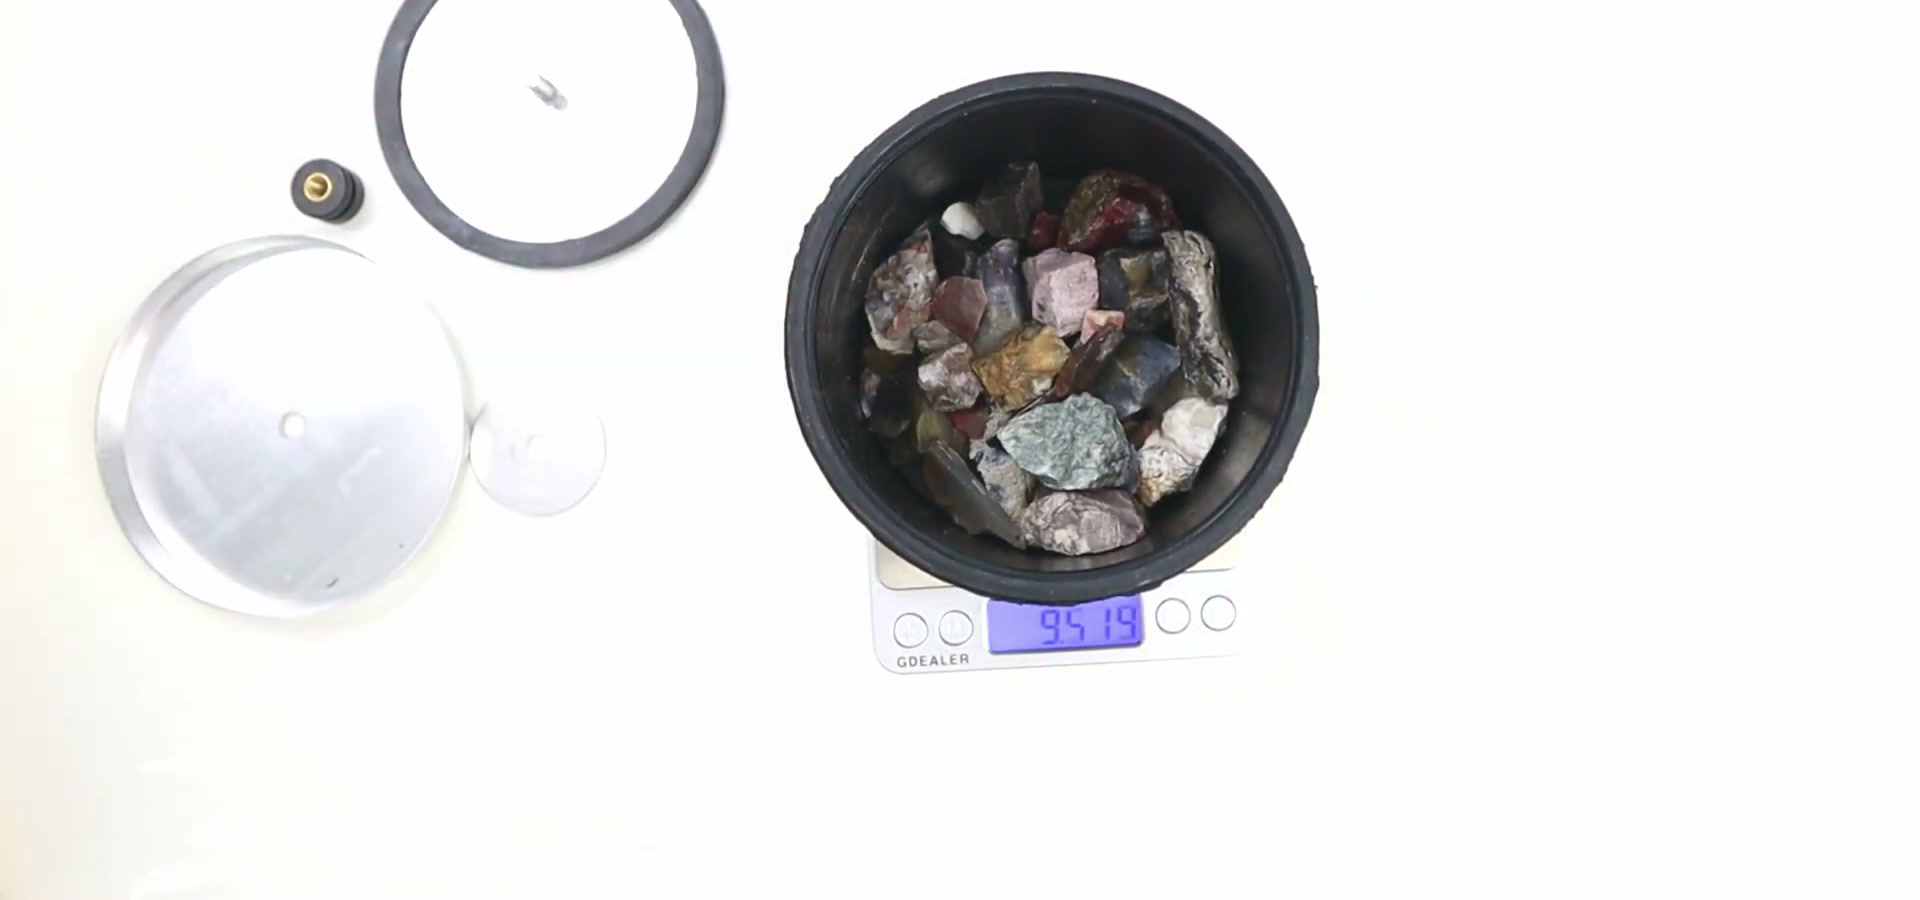
Getting the water level right matters more than most beginners realize. Too little water and the rocks grind unevenly. Too much and the rocks float instead of tumbling against each other. The standard rule: fill the barrel about 2/3 with rocks, then add water until it just covers the top layer.
Ready to Start Tumbling?
Now that you understand how rock tumblers actually work, the whole process makes a lot more sense. It’s not random – it’s controlled abrasion, stage by stage, until rough rocks become polished stones.
The biggest lesson from understanding the science: don’t rush the stages. Each one builds on the last. Skip ahead, and you’ll lock in scratches that no amount of polishing can fix.
If you’re just getting started, check out our beginner’s guide to rock tumbling for equipment recommendations. Already tumbling but getting cloudy results? Our troubleshooting guide for cloudy rocks covers every common cause and fix.
For a deeper dive into what makes grit work, see our guide to grit in rock tumbling. And if you want to try polishing without a machine first, here’s how to polish rocks without a tumbler.