Why Polishing Alone Isn’t Enough
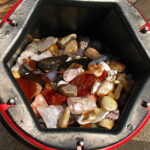
You’ve spent weeks tumbling your rocks, watching them transform from dull pebbles into glossy gems. But here’s the reality: even perfectly polished stones can lose their luster over time. Dust settles into micro-scratches, oils from handling dull the surface, and moisture can cause certain stones to look cloudy or faded.
The good news is that with the right finishing techniques, you can lock in that shine, protect your stones from wear, and create a product that actually stands out when you’re selling tumbled stones or making jewelry. These post-tumble enhancements are what separate hobby-quality pieces from professional-grade finishes.
Understanding Your Finishing Options
Before you pick a technique, you need to know what problem you’re solving. Are you protecting against physical wear? Preventing moisture damage? Looking for an ultra-glossy showroom finish? Different stones and end uses require different approaches.
Clear Coat and Resin Finishes
Clear epoxy resin is the gold standard for creating a durable, high-gloss finish that lasts. It forms a hard protective layer over your polished stone, giving it that wet-stone appearance permanently. This works beautifully for display pieces, jewelry components, and stones you’re selling online because the finish is nearly impossible to mess up once cured.
You’ll apply thin, even coats using a small brush or dropper. Two-part epoxy typically cures in 24 hours and creates a rock-hard shell. The downside is learning the technique: uneven application leaves streaks, and dust settling during curing creates visible imperfections. Watch your technique carefully, not your clock, when applying.
A simpler alternative is thin cyanoacrylate (super glue) coating, which dries faster but doesn’t build the same durability. It’s less forgiving and works best on smaller stones.
Wax and Oil Treatments
Mineral oil and specialized stone waxes are the gentler route. They enhance color and shine without creating a visible coating, making stones look naturally wet. This approach is popular for collectors who want their rocks to look authentic while maintaining a polished appearance.
The reality about waxing is that it requires maintenance. You’ll need to reapply every few months, especially if stones are handled frequently or displayed in dry environments. It won’t protect against scratches the way resin does, but it’s reversible and won’t yellow over time like some epoxies can.
Resin Doming and Encapsulation
Want to create jewelry-quality pendants or display pieces? Resin doming involves suspending or embedding your tumbled stone in clear casting resin. This creates a protective, waterproof finish with a professional high-gloss dome shape that catches light beautifully.
This requires molds, proper ventilation, and careful handling of two-part resin. It’s more involved than coating, but the results look premium. This is worth learning if you’re serious about selling tumbled stones as a business.
Step-by-Step Application Process
Preparing Your Stones
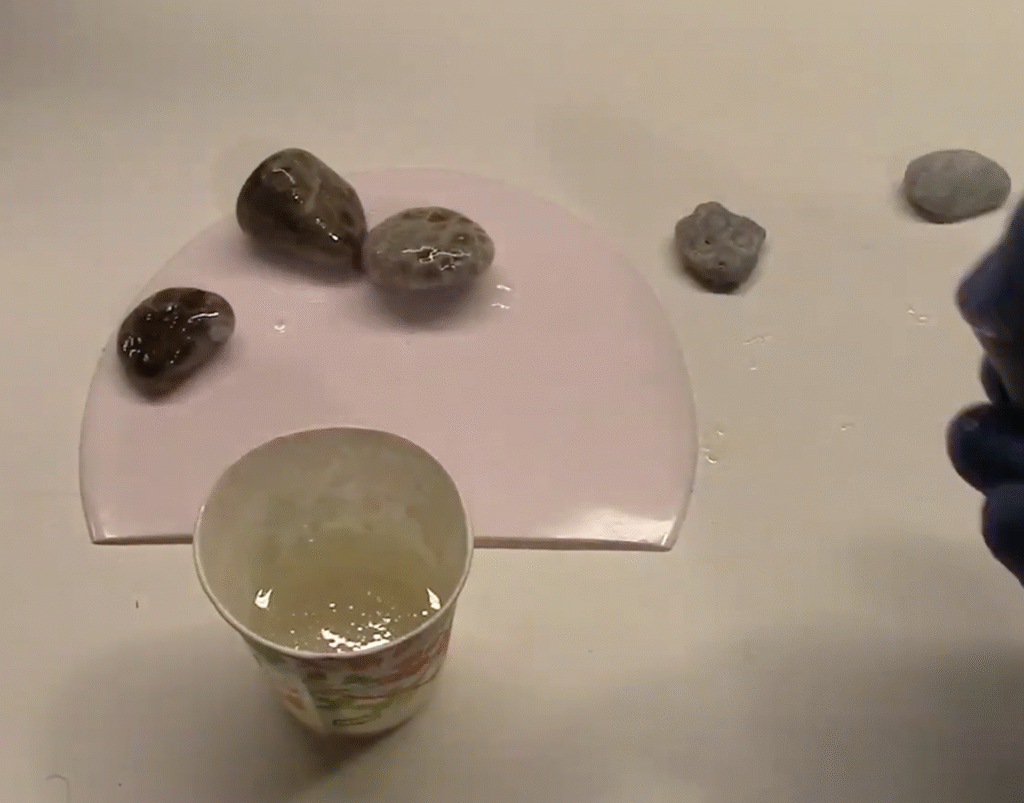
Here’s something critical: your stones must be completely clean and dry before any finish. Dust, water residue, or mineral deposits will prevent coatings from adhering properly and ruin your finish. Use distilled water for a final rinse (tap water leaves mineral spots), then let stones dry completely in a dust-free environment.
For resin work, let stones sit overnight. For wax or oil, they can be slightly warm to help penetration, but not hot.
Applying Clear Epoxy Resin
- Mix two-part epoxy according to instructions, stirring slowly to minimize bubbles
- Use a small brush or toothpick to apply thin, even coats to the stone surface
- Work quickly but carefully, as some epoxies begin setting within 5-10 minutes
- Let each coat cure fully (usually 24 hours) before handling
- Sand lightly between coats with 400+ grit sandpaper for better adhesion if applying multiple coats
- Apply 2-3 thin coats rather than one thick coat to avoid drips and bubbles
This sounds good until you realize environmental factors matter. Temperature, humidity, and air circulation all affect cure time and finish quality. Epoxy applied in cold, humid conditions may cure slowly or look dull. Warm, dry conditions with light air circulation are ideal.
Applying Wax or Oil Finishes
- Apply a thin, even coat using a soft cloth or brush
- Buff gently to remove excess and create uniform shine
- Let sit for 30 minutes to several hours depending on product
- Buff again if needed to achieve desired gloss level
The practical adjustment here is starting with less product than you think you need. Excess wax looks streaky and dull. One thin coat buffed well beats three heavy applications every time.
Resin Doming Process
Resin doming requires silicone molds and two-part casting resin. Pour slowly into the mold, allow the stone to settle, then top off to create the dome shape. Curing takes 24-48 hours depending on resin thickness and temperature. Once cured, you can sand or polish the dome smooth if needed for a pristine finish.
The key here is preventing bubbles. Work slowly, pour in the center, and avoid stirring the resin. Wiggling or tapping the mold gently can help bubbles rise to the surface.
Choosing the Right Finish for Your Goals
For Selling Tumbled Stones
If you’re moving stones through an online shop or retail space, epoxy resin coating is your workhorse. It’s durable, creates a premium appearance, and requires no maintenance from the buyer. Photos also look incredible because that glossy finish catches light and shows off color beautifully.
Buyers expect that wet-stone look, and epoxy delivers it reliably. The initial effort pays off when you’re competing with other sellers.
For Jewelry and Pendants
Resin doming or embedding is standard for jewelry pieces. It provides waterproof protection (important for wearables) and creates professional-looking components. If you’re making cabochons or setting stones in wire wraps, a resin dome gives you that extra durability and luxury feel.
For Personal Collections and Display
A mineral oil or specialized stone wax keeps your collection looking alive without overdoing it. You get the enhanced color and saturation without the plastic appearance. This is also best if you like to touch and handle your stones regularly, since resin can eventually chip from rough handling.
For Quick Finishing
If you need results fast and durability matters less, thin wax treatments dry in minutes and give instant results. They won’t last as long as resin, but they’re perfect for special events, displays, or testing how a finish will look before committing to full resin coating.
Common Mistakes to Avoid
Using high-gloss spray coats without primer: Many people spray acrylic or polyurethane clear coats directly on stones. These often peel or crack as they cure because they don’t bond properly to the mineral surface. If you’re using spray products, look for brands specifically designed for stone or ceramic surfaces.
Applying thick coats of epoxy: Thick coats bubble, cure unevenly, and look worse than multiple thin coats. Patience here pays off dramatically.
Finishing dirty or damp stones: I’ve watched plenty of hobbyists ruin perfectly polished pieces with this mistake. Dust, water, and residue cause coatings to fail or look cloudy. Cleanliness is non-negotiable.
Ignoring ventilation with epoxy and resin: These products release fumes. Work in well-ventilated areas or outdoors when possible. This is both a safety issue and a quality issue, since fumes can interfere with curing.
Over-handling freshly coated stones: The urge to touch and admire your work is real, but handling stones during curing leads to fingerprints, dust collection, and damaged finishes. Let them cure undisturbed.
Products Worth Considering
When shopping for finishing materials, focus on quality brands designed for art and craft use rather than generic hardware store options. Browse specialized rock tumbling supplies on Amazon where you can find epoxy resins, stone-specific waxes, and application tools with reliable reviews from other tumblers.
For epoxy, look for brands that cure clear and don’t yellow over time (UV-resistant formulas are ideal). For waxes, mineral oil-based products labeled for stone or gemstone finishing work better than general furniture wax. Silicone molds for resin doming come in various stone shapes and sizes.
Setting Yourself Up for Success
Don’t hesitate to test finishing techniques on a few practice stones before committing your best pieces. This gives you a feel for application, curing times, and the final appearance without high stakes.
Keep detailed notes on what worked. Write down ambient temperature, humidity, product brand, application method, and cure time. Over time, you’ll develop consistency and knowledge that turns your finishing from hit-or-miss to reliable and repeatable.
If you’re getting into finishing seriously, invest in a small dust-free drying area or box. A cardboard box with a fan pointed outward (not blowing dust in) works perfectly. This prevents dust settling on wet coatings and ruins your finish.
Remember that finishing techniques complement but don’t replace solid polishing work. Make sure you’re starting with properly tumbled stones. If you’re still troubleshooting your tumbling process, addressing cloudiness or haziness before finishing will give you better starting material.
Start with one method, master it, then experiment. Over time, you’ll develop the instinct for which finish works best for each stone and purpose. Happy hunting and finishing!