Why Most Beginners Get Disappointing Results
You loaded the barrel, added the grit, waited four weeks… and pulled out rocks that look about the same as when they went in. Maybe a bit smoother, but nothing like those glossy, gem-quality stones you see online.
Sound familiar? You’re not alone. Rock tumbling has a learning curve, and most of the mistakes happen before the barrel even starts spinning.
These 15 tips come from years of trial and error, countless Reddit threads, and conversations with hobbyists who’ve burned through barrels of grit figuring out what actually works. Whether you’re on your first batch or your fiftieth, there’s something here that’ll improve your results.
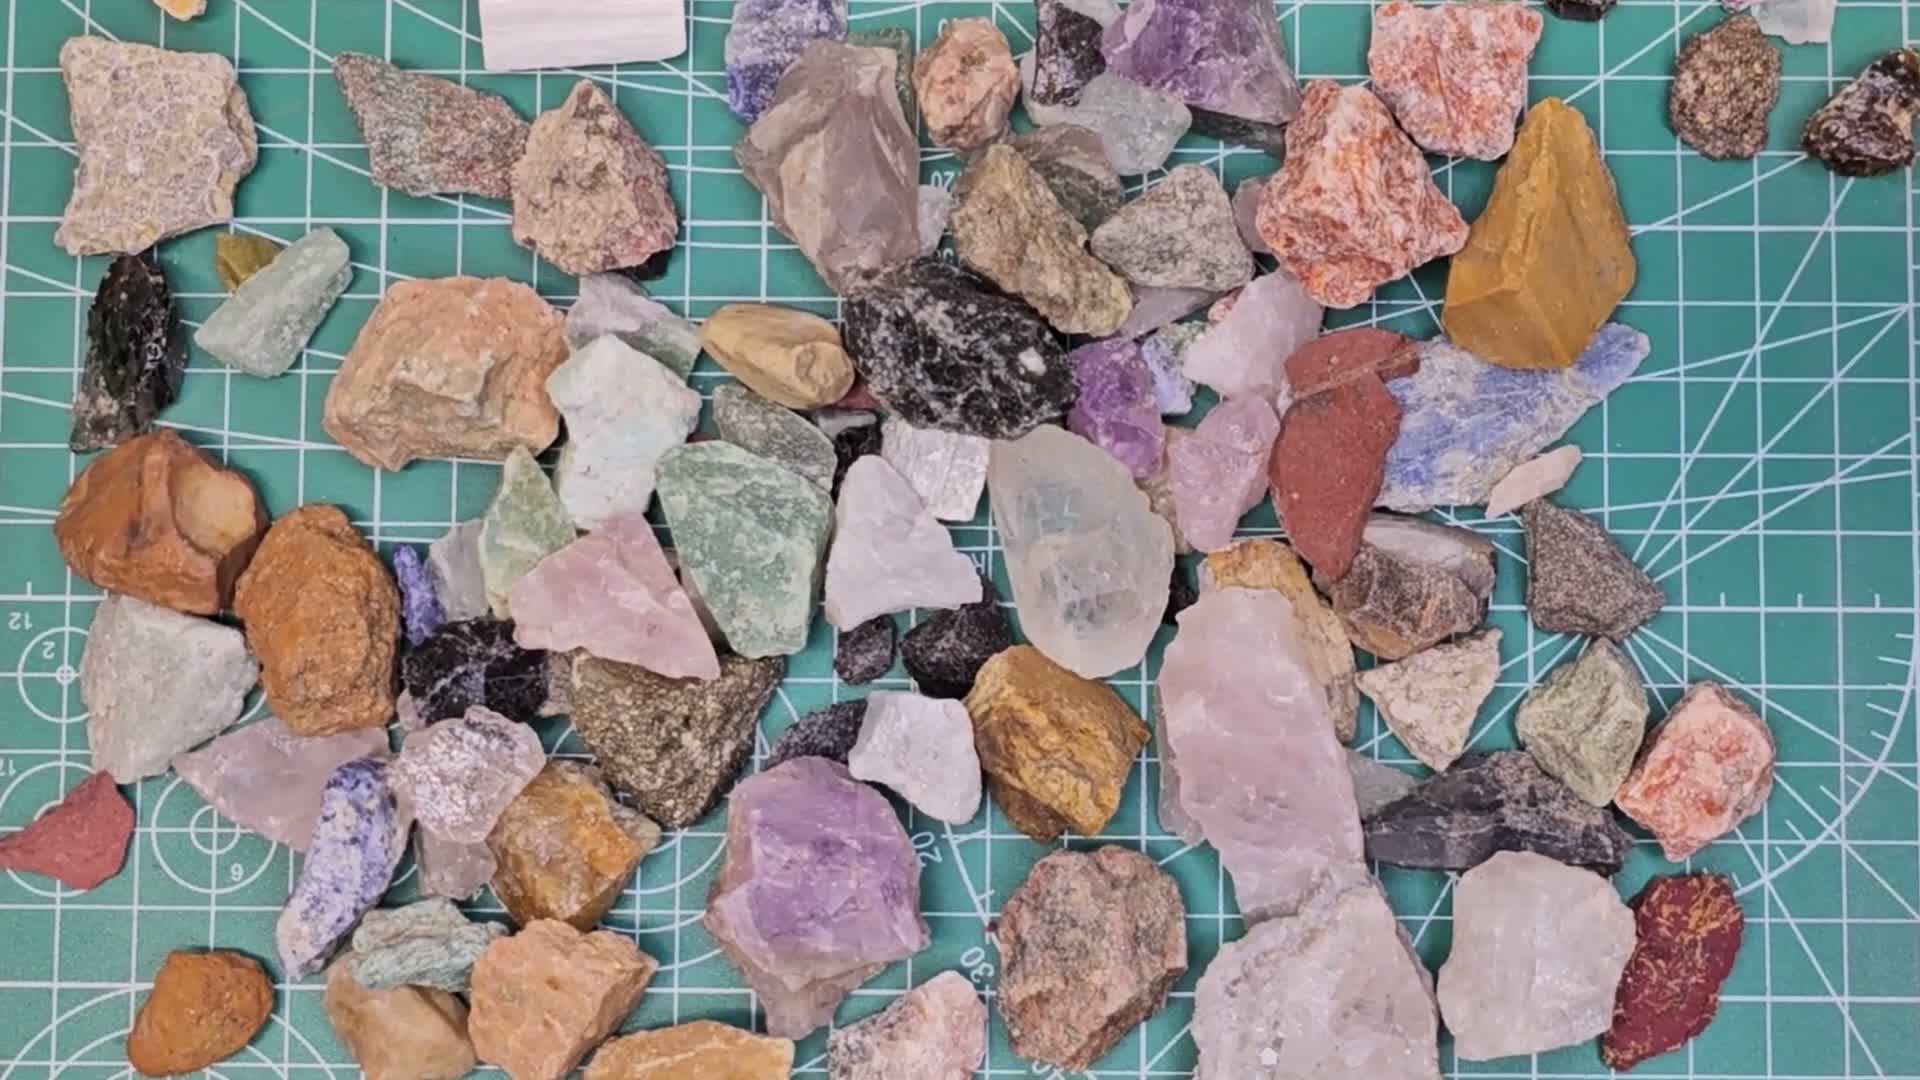
1. Match Rock Hardness Before Loading the Barrel
This is the single biggest mistake beginners make. If you toss soft rocks in with hard ones, the soft rocks get destroyed while the hard ones barely change.
Here’s the rule: only tumble rocks within 1 point of each other on the Mohs hardness scale. Jasper (7), agate (7), and quartz (7) tumble beautifully together. But throw in a piece of fluorite (4) or calcite (3), and you’ll find powder where your rock used to be.
Not sure about a rock’s hardness? Scratch it with a steel nail (about 5.5 on the Mohs scale). If the nail scratches it easily, keep it out of a barrel with quartz-family stones.
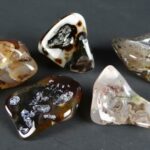
2. Start With Jasper and Agate
If you’re new to tumbling, don’t experiment with random rocks from the backyard. Start with jasper and agate. They’re hard (Mohs 7), they take a polish like glass, and they’re forgiving if your process isn’t perfect yet.
You can buy rough jasper and agate cheaply online, or find them at rock shops. Once you’ve got the process dialed in with reliable stones, branch out to more challenging materials.
Need help figuring out what’s in your collection? Our guide to identifying rocks suitable for tumbling walks through the basics.
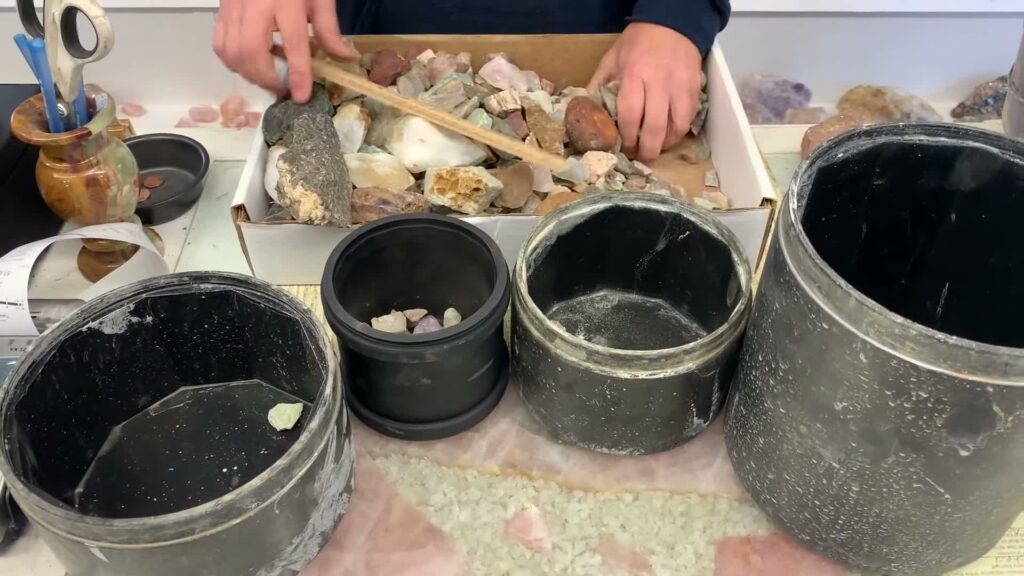
3. Fill the Barrel to Two-Thirds Capacity
An underfilled barrel is a recipe for bruised rocks. An overfilled barrel won’t tumble at all – the rocks just sit there in a packed mass.
The sweet spot is two-thirds full. This gives rocks enough room to cascade over each other (which is what does the grinding), while maintaining enough rock-to-rock contact for even shaping.
Use a mix of sizes too. Small rocks fill gaps between larger ones, improving the tumbling action and preventing flat spots.
4. Use Ceramic Media to Fill Gaps
Don’t have enough rocks to fill the barrel properly? Ceramic tumbling media is your best friend. These small ceramic cylinders and triangles act as cushioning agents and help distribute grit evenly across every surface.
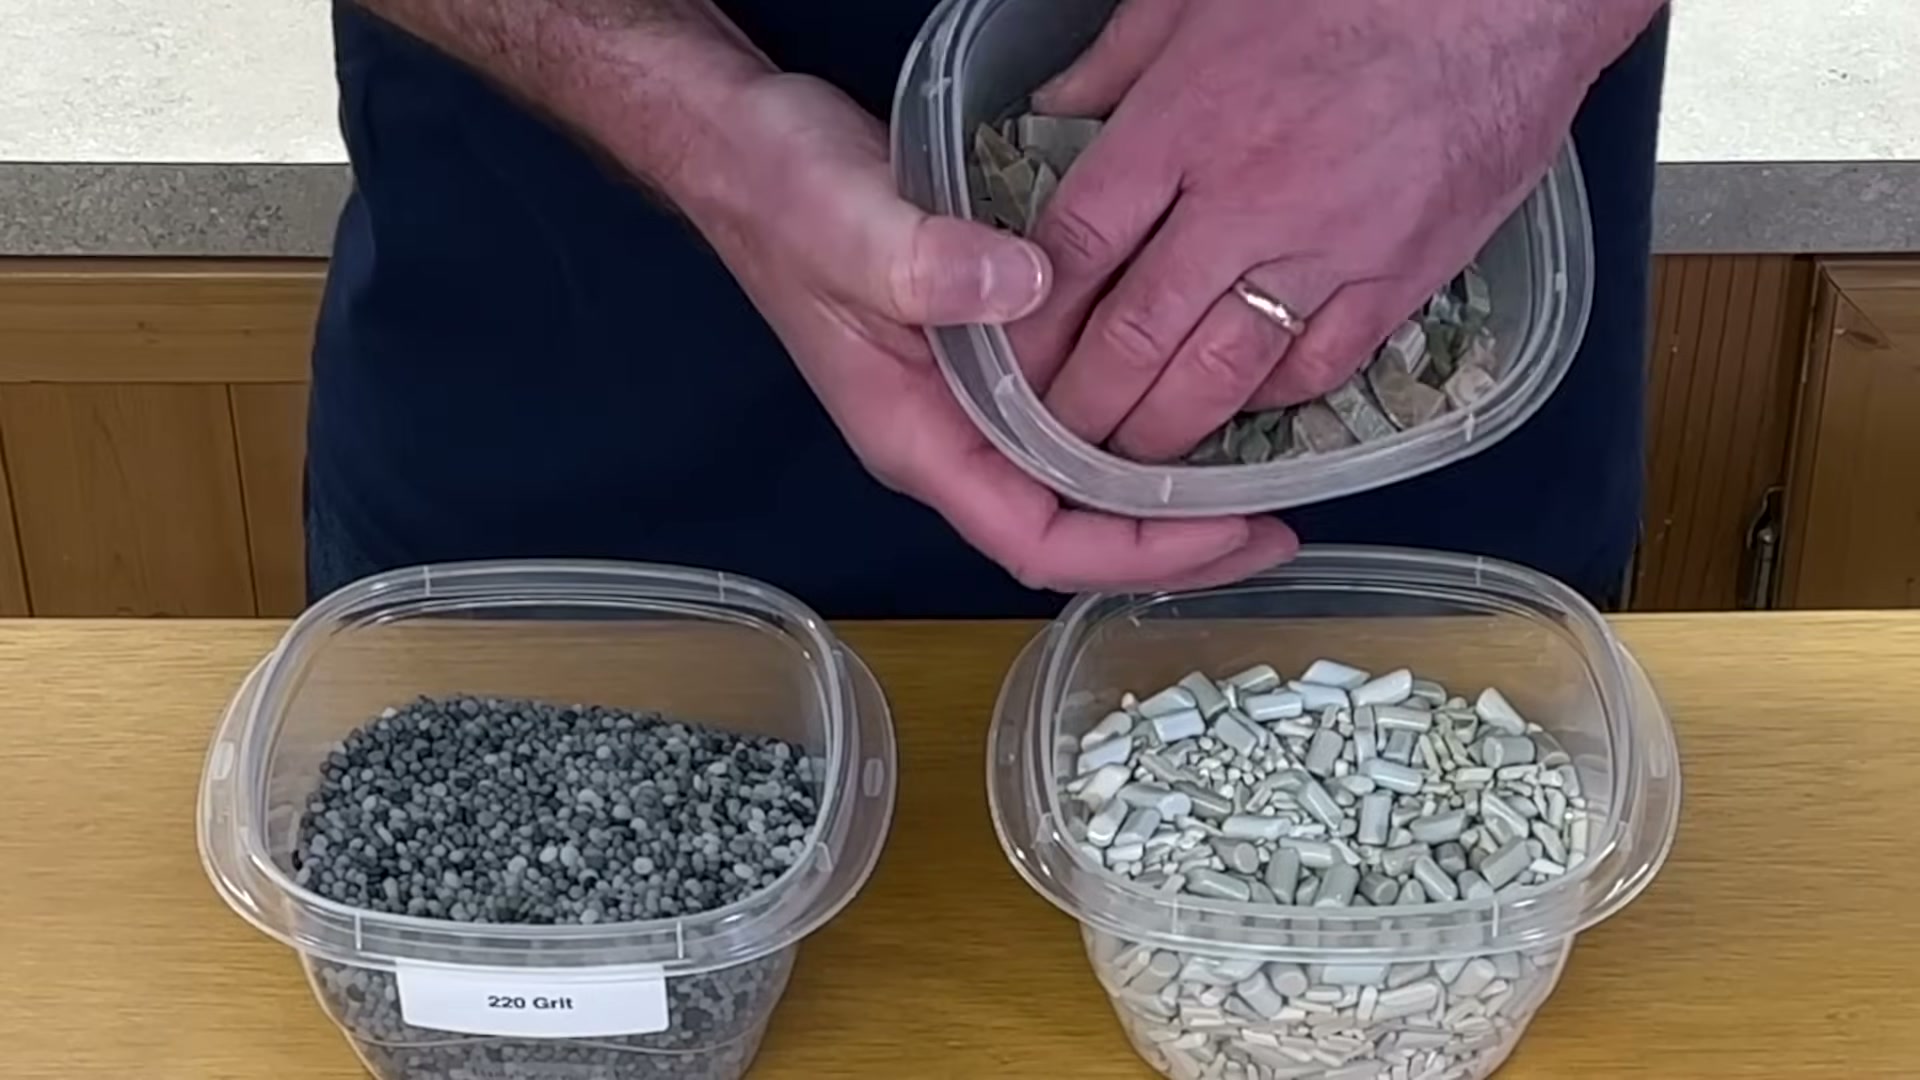
Ceramic media is especially useful when you’re tumbling a small batch or when your rocks are all similar sizes. The media fills the spaces between rocks and keeps everything moving smoothly.
For a deeper look at different media types, check out our guide to tumbling media.
5. Never Skip Grit Stages
Rock tumbling uses progressively finer grits: coarse (60/90), medium (150/220), pre-polish (500), and polish (usually aluminum oxide or cerium oxide). Each stage removes the scratches left by the previous one.
Skip a stage and those deep scratches from the coarse grit will still be visible under the final polish. Your rocks will look hazy instead of glassy. There are no shortcuts here.
A quality 4-step grit kit like the WKTURN 4-Step Grit Set ($18.97, 4.6 stars, 868+ ratings) includes everything you need for one full cycle. If you’re running larger batches, the 10 LBS Professional Grit Kit ($32.99, 4.7 stars) gives you enough for multiple loads.
Want to understand exactly what each grit does and why it matters? Read our breakdown on the importance of grit in rock tumbling.
6. Rinse Rocks Thoroughly Between Stages
This is where patience really pays off. Even a tiny amount of coarse grit carried into the medium stage will scratch your rocks and ruin weeks of work.
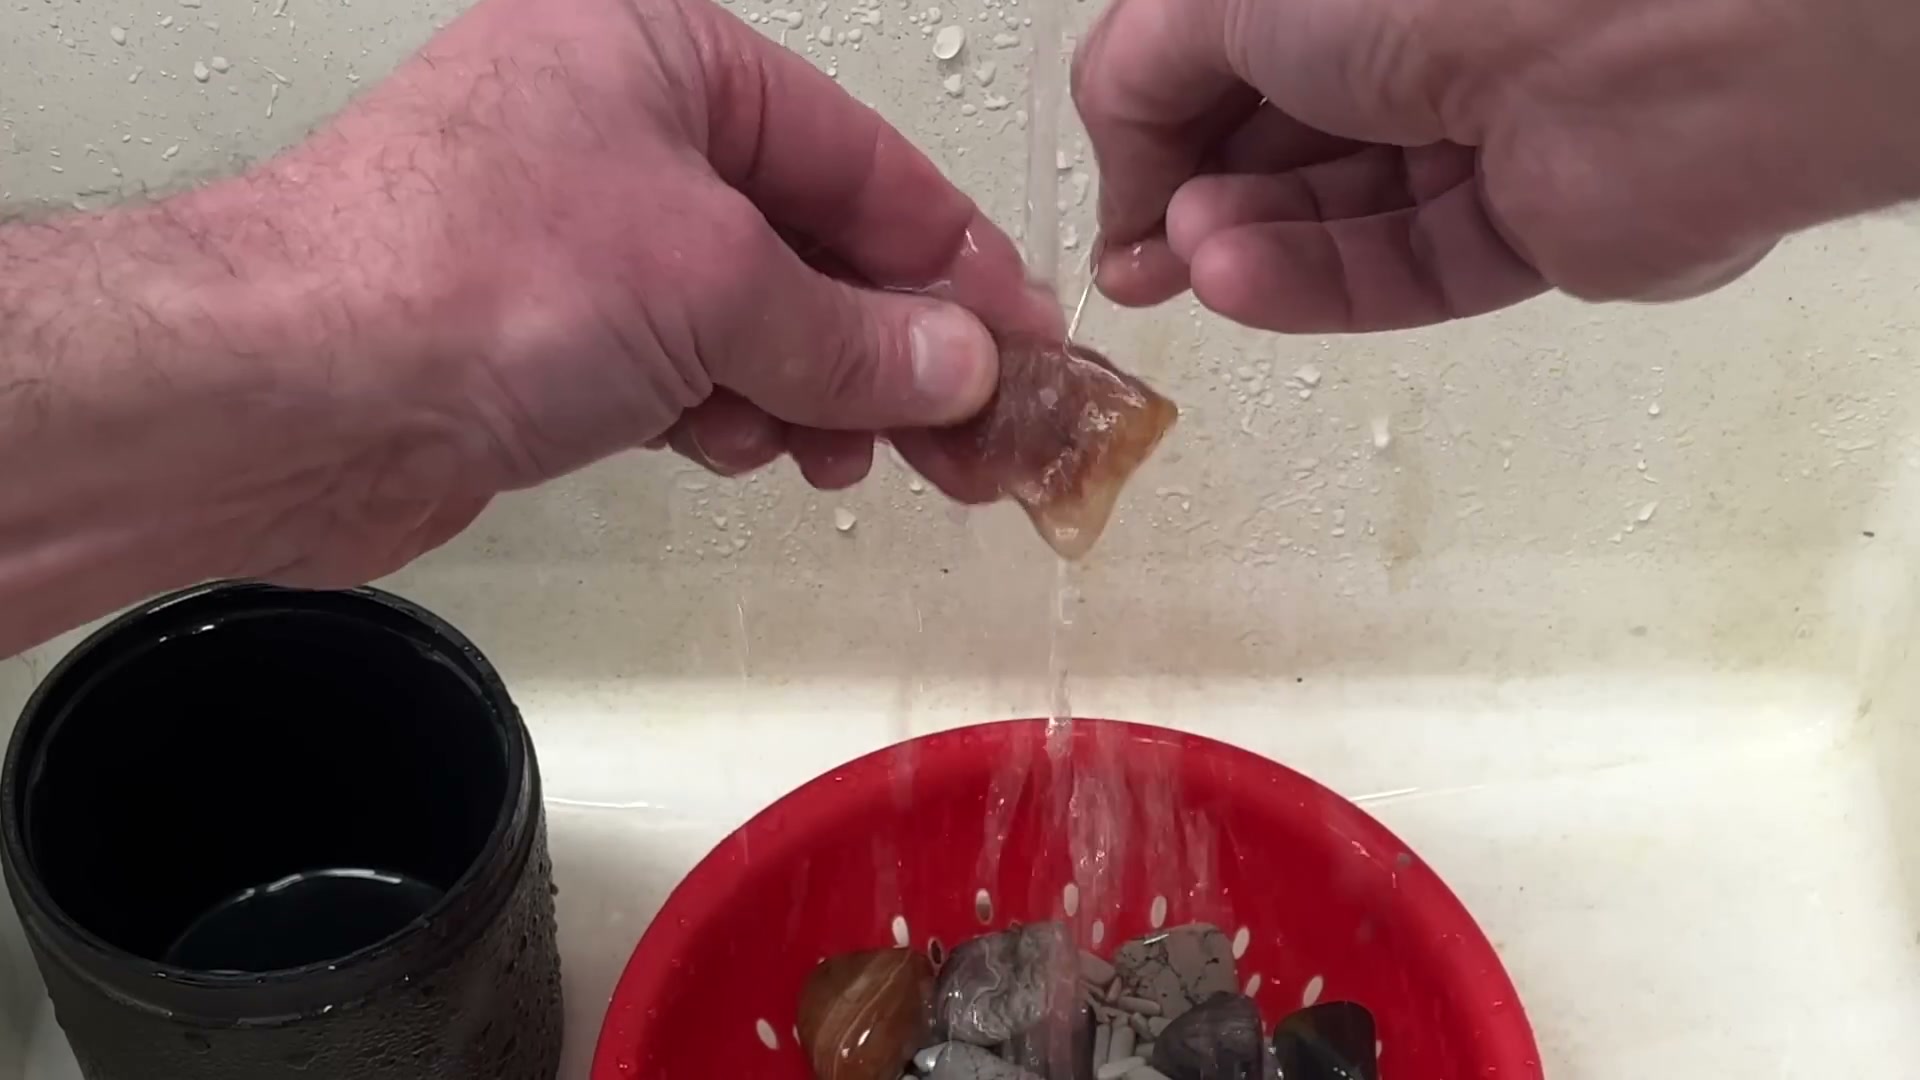
After each stage, dump the barrel and rinse every rock individually under running water. Use an old toothbrush to scrub crevices. Rinse the barrel itself, the lid, and any ceramic media. Then rinse everything again.
A kitchen colander works perfectly for this. Rinse until the water runs completely clear. If you see any grey or gritty residue, keep rinsing.
7. Never Pour Slurry Down the Drain
The grey sludge in your barrel after a stage is rock slurry mixed with spent grit. Pour it down your sink and you’ll be calling a plumber within months. That stuff hardens like concrete in pipes.
Instead, dump slurry into an old bucket and let it settle overnight. Pour off the clear water on top, then scrape the sludge into the trash. Or dump it directly into an outdoor area away from drains.
Our slurry management guide covers disposal methods in detail.
8. Add a Tablespoon of Sugar to Your Polish Stage
This one sounds weird, but experienced tumblers swear by it. Adding a tablespoon of granulated sugar to your final polish stage acts as a cushioning agent. It dissolves slowly and helps the polish compound distribute more evenly across the rocks.
Some people use small pieces of ivory soap shavings instead. Both serve the same purpose: creating a slightly thicker slurry that buffs rather than grinds.
9. Check Your Barrel Every 24 Hours for the First Few Days
Gas buildup from the tumbling process can pop lids off barrels, and you’ll have grit slurry on your ceiling. During the first 2-3 days of any stage, open the barrel once a day to release pressure. Tumblers call this “burping” the barrel.
While you’re at it, check the slurry consistency. It should look like thin pancake batter or watery mud. If it’s too thick, add a splash of water. If there’s standing water above the rocks, you added too much. The slurry should coat the rocks evenly without pooling.
After the first few days, gas production slows down and you can leave the barrel alone until the stage finishes. But that early check prevents messy surprises and lets you catch problems before they waste a full week of tumbling.
10. Run Each Stage for the Full Duration
Coarse grind: 7 days minimum, 10-14 for harder stones. Medium grind: 7 days. Pre-polish: 7 days. Final polish: 7 days.
Cutting time short is the second most common mistake after mixing hardnesses. Rocks that feel smooth to the touch after 5 days of coarse grind aren’t actually ready. The scratches are just too small to feel but they’ll show up under polish.
Some batches need even longer. If you pull rocks after 7 days of coarse grinding and they still have visible pits or rough patches, put them back for another 3-4 days with fresh grit.
11. Use Fresh Grit for Each Batch
Spent grit is rounded and dull. It won’t cut anymore. Using old grit means your barrel spins for a week doing almost nothing.
Always start each stage with fresh grit and water. The amount matters too. For a 3-pound barrel, use about 2 tablespoons of grit per stage. For larger barrels, scale up proportionally. Your grit kit instructions will have specific measurements.
12. Keep Your Tumbler on a Stable, Level Surface
A tumbler that vibrates across the table or sits on an uneven surface won’t tumble properly. The barrel needs to rotate smoothly for even grinding.
Place your tumbler on a sturdy table or shelf in a garage, basement, or laundry room. Rubber mats help with noise and vibration. And speaking of noise, rotary tumblers are loud. Don’t put one in your bedroom unless you enjoy sleeping through a constant low rumble.
If you’re still picking out your first machine, our guide to choosing a beginner tumbler covers the options.
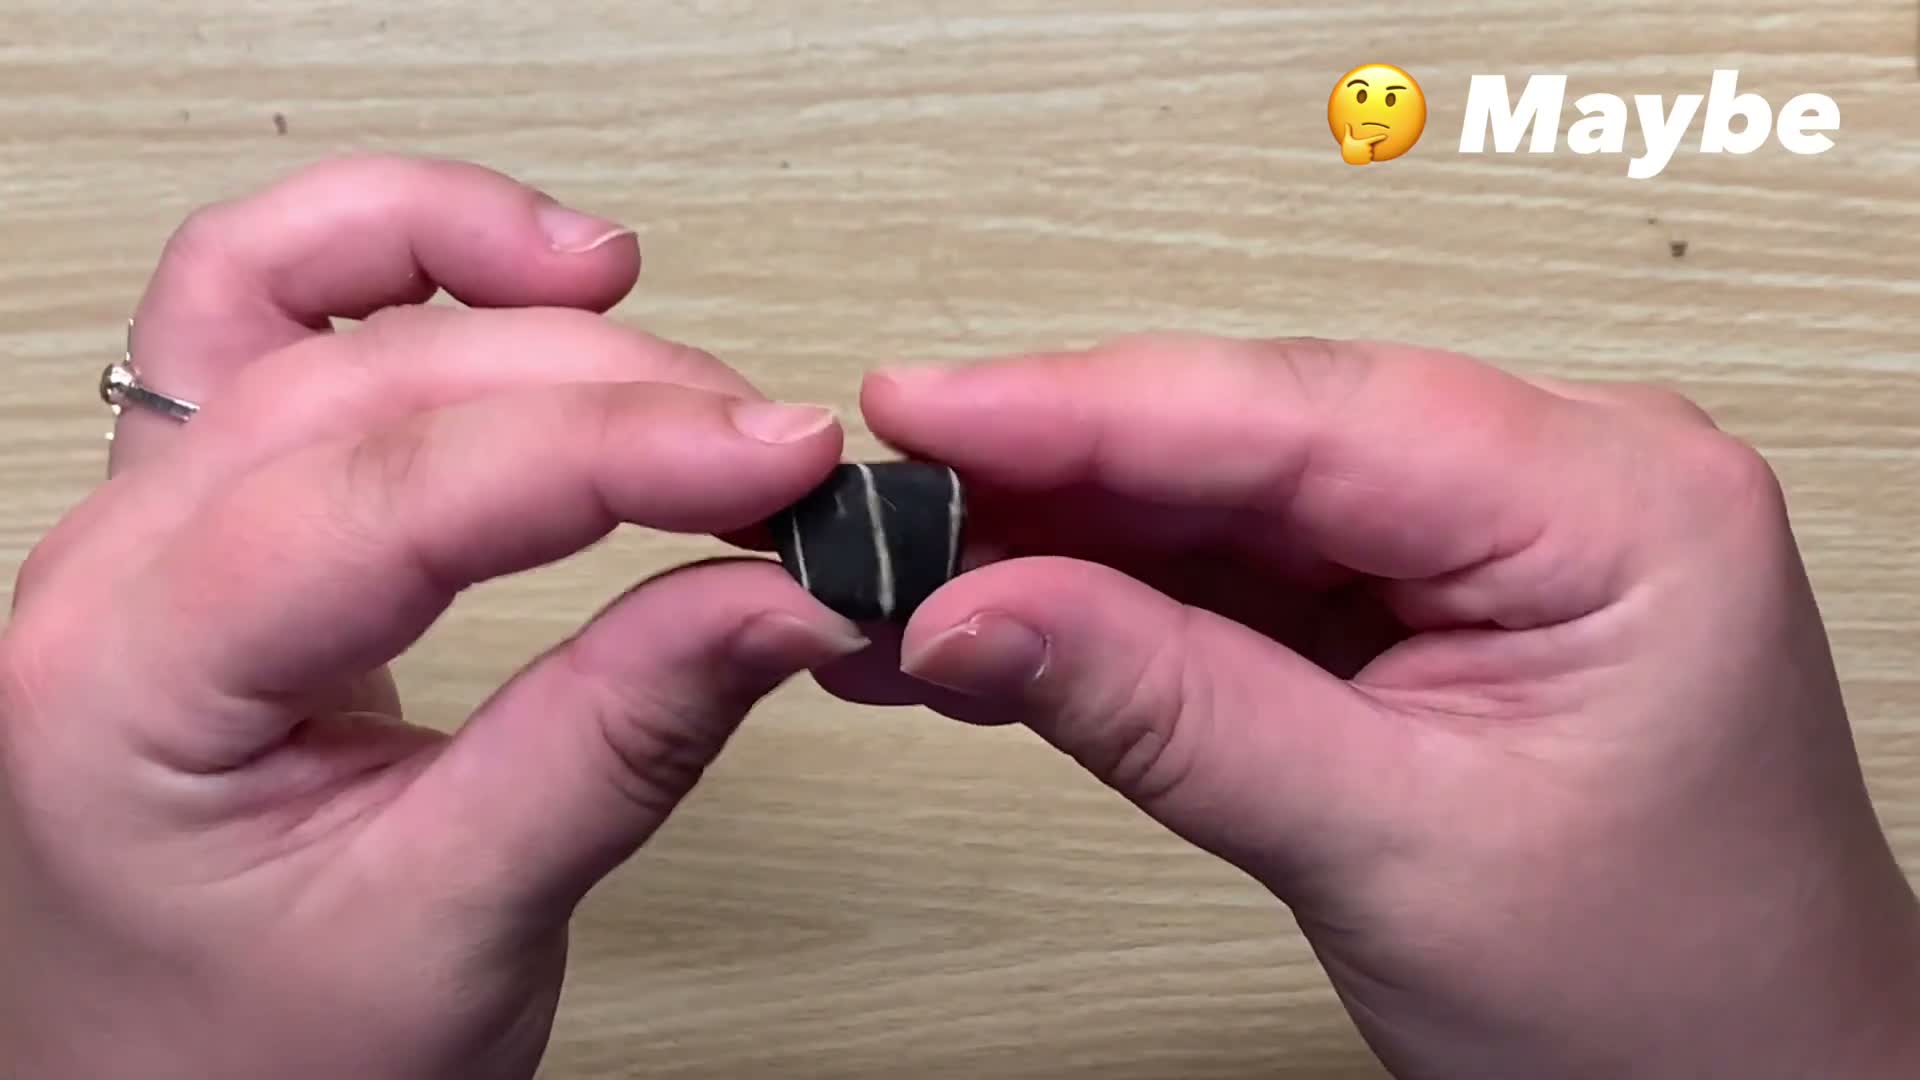
13. Inspect and Remove Problem Rocks Between Stages
Between each grit stage, look at every rock carefully. Remove any that are cracked, crumbling, or have deep pits that aren’t smoothing out. These problem rocks shed debris that can scratch your good rocks during finer stages.
Also remove any rocks that have gone too small. Tiny rocks rattle around and can damage the barrel lining. If a rock is smaller than a pea, take it out.
14. Keep a Tumbling Journal
Write down what rocks you loaded, what grit you used, how long each stage ran, and what the results looked like. This sounds tedious, but it’s the single fastest way to improve your results batch over batch.
After a few batches, you’ll start seeing patterns. Maybe your local granite needs 12 days of coarse instead of 7. Maybe your agates come out better with an extra day of polish. Perhaps that batch of mixed hardness stones taught you an expensive lesson. You can’t track this stuff in your head.
A simple notebook or spreadsheet works fine. For each batch, record: date started, rock types and approximate sizes, barrel fill level, grit amounts, duration per stage, results, and notes on what you’d change next time. Take photos of the rocks before and after – the comparison shots are incredibly satisfying and help you spot what’s working.
15. Be Patient – Good Results Take 4-6 Weeks
The full tumbling cycle takes a minimum of 28 days (7 per stage across 4 stages). Most batches take closer to 5-6 weeks once you account for extended coarse grinding and careful rinses between stages.
There’s no way to speed this up significantly. Higher-speed tumblers exist, but they risk chipping rocks. Extra grit doesn’t help – it just makes thick mud. The rocks need time.
Set it and forget it. Start a batch, mark your calendar, and go live your life. Check on it during grit changes, but resist the urge to pull rocks out early “just to see.” Every time you open the barrel, you lose momentum.
The best part of rock tumbling is opening that barrel after weeks of patience and seeing stones that look completely transformed. That first batch where everything clicks – matched hardness, proper grit, full duration, clean rinses – is genuinely exciting. You’ll hold up a rock that looked like a dull grey pebble a month ago and it’s now a polished gemstone catching the light.
Bonus: Rocks You Should Avoid as a Beginner
Some rocks are technically tumbleable but cause nothing but frustration when you’re starting out:
- Fluorite (Mohs 4) – too soft, dissolves in the barrel
- Labradorite – fractures along cleavage planes
- Obsidian – chips easily, needs very careful handling
- Selenite (Mohs 2) – water-soluble, will literally dissolve
- Rough quartz crystals – the points chip off and scratch everything
For tips on handling trickier stones once you’re more experienced, see our guide to tumbling difficult stones like obsidian and quartz.
Frequently Asked Questions
How long does rock tumbling take from start to finish?
A complete cycle takes 4-6 weeks. Each of the four grit stages runs for about 7 days, and harder rocks may need extra time in the coarse grinding stage. Rushing the process leads to dull, scratched results.
Can you reuse rock tumbling grit?
No. Grit breaks down during tumbling and loses its cutting ability. Always use fresh grit for each stage and each new batch. Reusing spent grit is one of the most common reasons for disappointing results.
What rocks are best for beginners to tumble?
Jasper and agate are the gold standard for beginners. Both sit at Mohs 7 hardness, take an excellent polish, and are widely available. Lake Superior agates, Brazilian agate, and various jaspers (dalmatian, red, ocean) are all great choices for your first batches.
Why do my tumbled rocks look cloudy after polishing?
Cloudy results usually mean grit contamination between stages. Even a few grains of coarse grit in your polish stage will scratch the surface. Rinse rocks, barrel, lid, and media thoroughly between every stage. If cloudiness persists, check out our troubleshooting guide for cloudy rocks.
Do I need ceramic media for rock tumbling?
You don’t strictly need it, but ceramic media dramatically improves results. It fills gaps in the barrel, cushions rocks to prevent bruising, and ensures grit reaches all surfaces evenly. It’s especially helpful for small batches or when your rocks are all similar sizes.