A Dremel rotary tool is the fastest way to polish a single rock without waiting four to six weeks for a tumbler. You trade bulk capacity for control and speed: one stone, hands-on, 30-60 minutes start to mirror finish. If you want to make cabochons, polish one special find, or test whether a rock is worth tumbling at all, this is the right tool. If you want to polish five pounds of rough into a jar of tumbled stones, skip to our rock tumbler guide instead.
This guide covers the rotary tool and accessories you actually need, the step-by-step process from rough rock to polished stone, and the tradeoffs versus a rock tumbler so you can pick the right approach.
Start Here in 30 Seconds
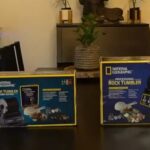
If you just want the shortest path from rough rock to polished stone, here’s the beginner starter bundle. well under $100 total:
- Rotary tool: Dremel 3100 Variable Speed Kit
- Shaping: 52-Piece Diamond Burr Set
- Final polish: 114-Piece Polishing Kit with 2 Compounds
Full picks, step-by-step process, safety rules, and the Dremel-vs-tumbler tradeoff below.
Dremel vs Rock Tumbler: When to Use Which
This is the question most guides skip. Dremels and tumblers do different jobs:
- Use a Dremel when you want to polish one specific stone, shape a cabochon, work with a stone too fragile for a tumbler (thin-cut slices, delicate crystals), or finish a piece for jewelry. Hands-on. 20-60 minutes per stone.
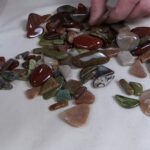
- Use a rock tumbler when you want volume. Tumblers polish 2-15 pounds of rough at once, unattended, over 4-6 weeks. Per-stone labor is near zero, but you can’t isolate a single piece mid-cycle. See our 10 tested tumbler picks.
- Use both if you rockhound seriously. A tumbler handles the bulk; a Dremel finishes the special finds into display or jewelry pieces.
What You Need to Polish Rocks with a Dremel
1. The rotary tool (the Dremel itself)
Any variable-speed Dremel works for rock polishing. the key feature is variable speed. You need to run at low RPM (10,000-15,000) for grinding stone, not the 30,000+ RPM useful for wood or metal. Speed control matters more than raw power.
Budget pick: Dremel 3100-1/15 Variable Speed Kit
Around $60. A corded variable-speed rotary tool with 1 attachment and 15 accessories. Plenty of speed range (5,000-32,000 RPM) for rock work. If you are testing whether rotary polishing is worth it for you, start here. See on Amazon.
Premium pick: Dremel 4300-9/64 with Flex Shaft
Around $200. Includes the flexible-shaft attachment, which is the single most useful upgrade for rock polishing. You hold a lightweight pen-style attachment instead of the motor; finer control, less hand fatigue, better for cabochon work. 9 attachments, 64 accessories. Best value if you know you will use it long-term. See on Amazon.
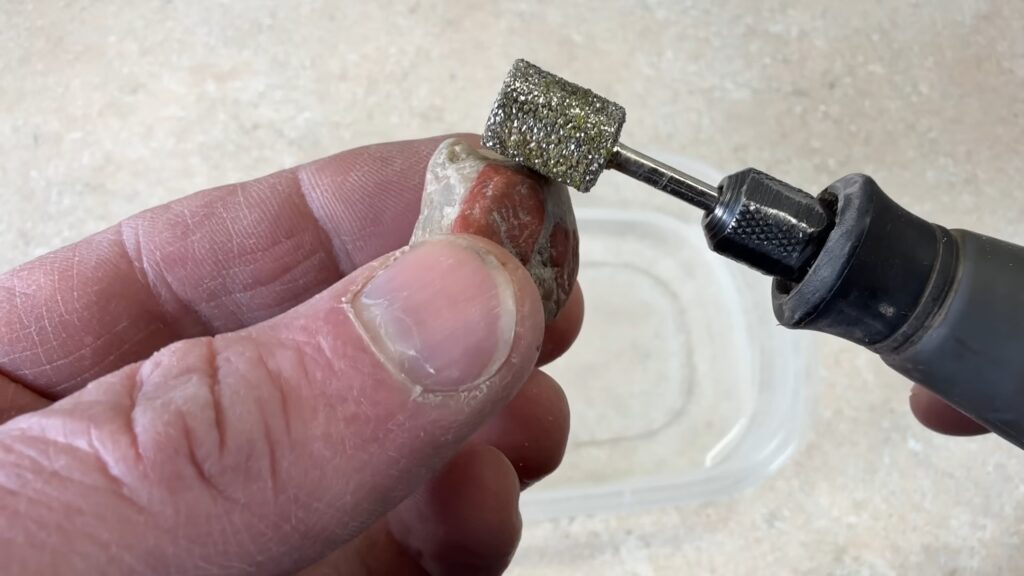
2. Diamond burrs (for shaping and rough grinding)
Regular Dremel grinding stones are too soft for quartz-hardness rocks (agate, jasper, quartz, petrified wood. anything Mohs 6-7+). You need diamond burrs, which use industrial diamond grit fused to a metal shaft. A variety pack gives you shapes (round, conical, cylindrical) for different curves and corners. Most sets include 50-100 bits at multiple grit levels.
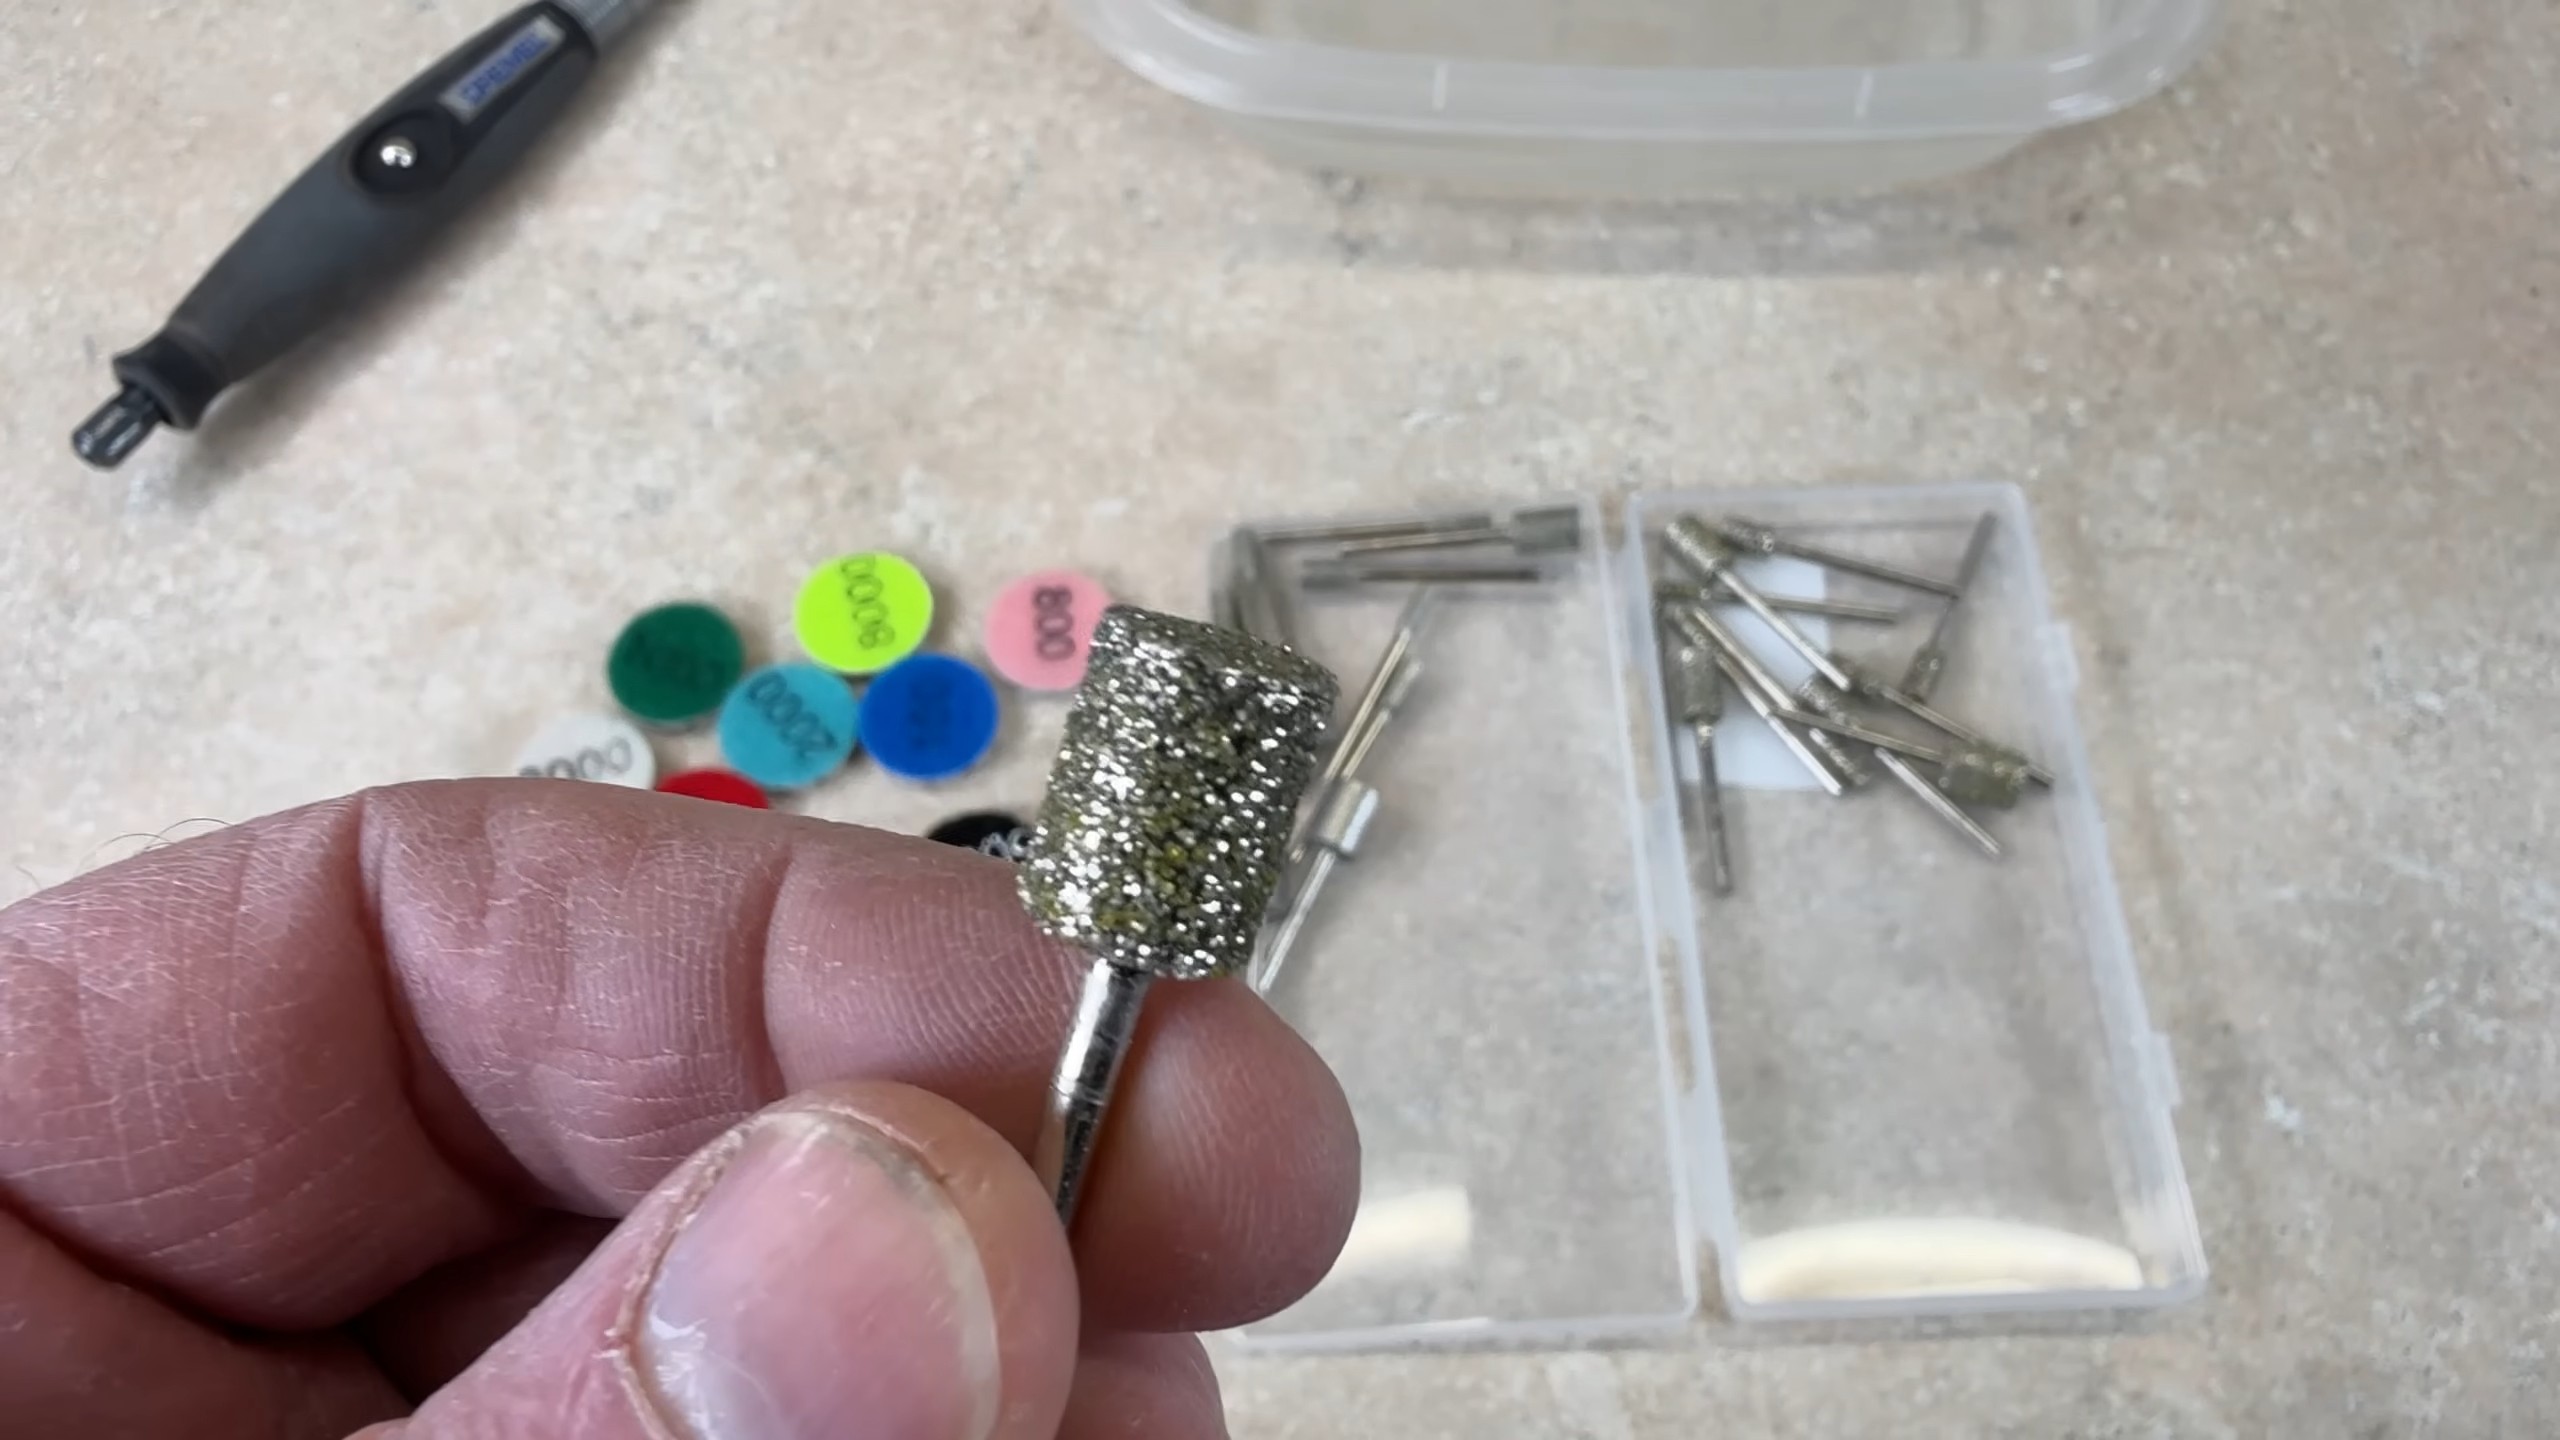
52-Piece Diamond Burr Stone Carving Set (under $25)
1/8-inch shanks that fit any Dremel. Multiple shapes and grit grades from coarse to fine. Good starter pack; individual bits wear out over time but you get dozens before needing a refill. See on Amazon.
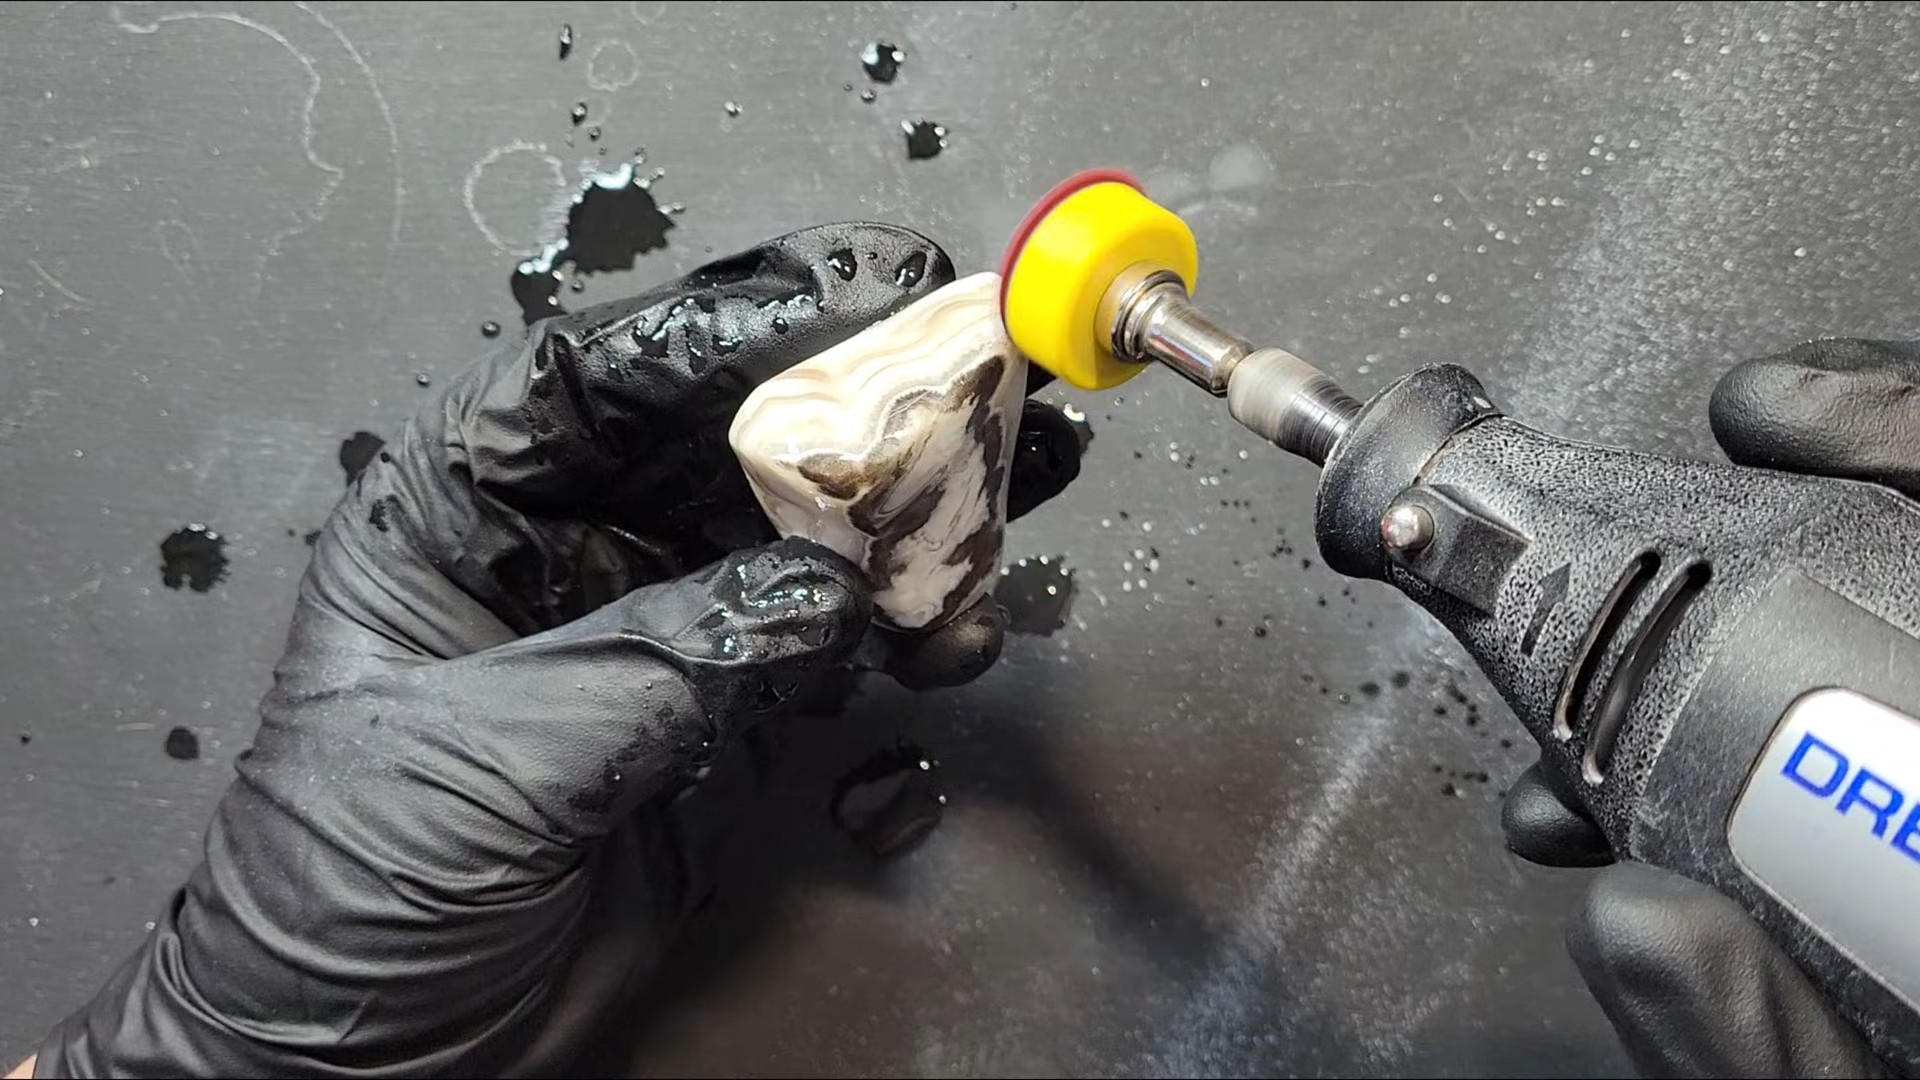
3. Polishing bits and compound (for the mirror finish)
After shaping, you switch to felt or cotton buffing wheels loaded with polishing compound. Cerium oxide is the standard for stone polishing. it leaves a glass-clear finish on quartz, agate, and most silicates. Some all-in-one kits include the bits plus two compounds (a coarse cutting compound and a final polish).
114-Piece Polishing Kit with 2 Compounds (under $25)
Felt wheels, cotton buffing wheels, abrasive bits, and both a cutting compound (for smoothing stage) and a final polish compound (for the mirror shine). Everything you need for stages 2 and 3 of the process in one kit. See on Amazon.
4. Safety essentials (do not skip)
Rock dust is silica. Breathing it is bad. You need, minimum:
- Safety glasses or goggles: rock chips fly. This is not optional. TICONN anti-fog ANSI Z87.1 safety glasses are the cheapest pair we’d actually trust.
- N95 dust mask or respirator: rock dust is silica, and you don’t want to breathe it. 3M N95 8511 respirators, 10-pack have a cool-flow valve so they’re bearable for 30-60 minute sessions.
- A spray bottle of water: wet-grind whenever you can. It suppresses dust and prevents the stone from overheating. Any 16oz trigger sprayer will do.
- A towel or mat to catch debris and stabilize your workpiece.
Step-by-Step: Polishing a Rock with a Dremel
Step 1: Clean and inspect the rock
Scrub the rock under running water with an old toothbrush. Look at it under bright light from multiple angles. Identify any cracks, fractures, or inclusions. these will either worsen during polishing or become feature points you want to preserve. Decide which face will be your “top” (showiest side).
Step 2: Rough-shape with diamond burrs (10-20 minutes)
Start with a coarse diamond burr. Set the Dremel to 10,000-15,000 RPM. any faster and you overheat the stone. Spray the rock with water constantly or dip the burr in water between passes. Remove sharp edges, high spots, and any obviously fractured material. Work in short passes, lifting the tool every 10-15 seconds so the stone doesn’t heat up.
Switch to a finer diamond burr (medium, then fine grit) as the surface smooths. You are aiming for a uniformly smooth surface with no visible scratches, not yet a polished finish.
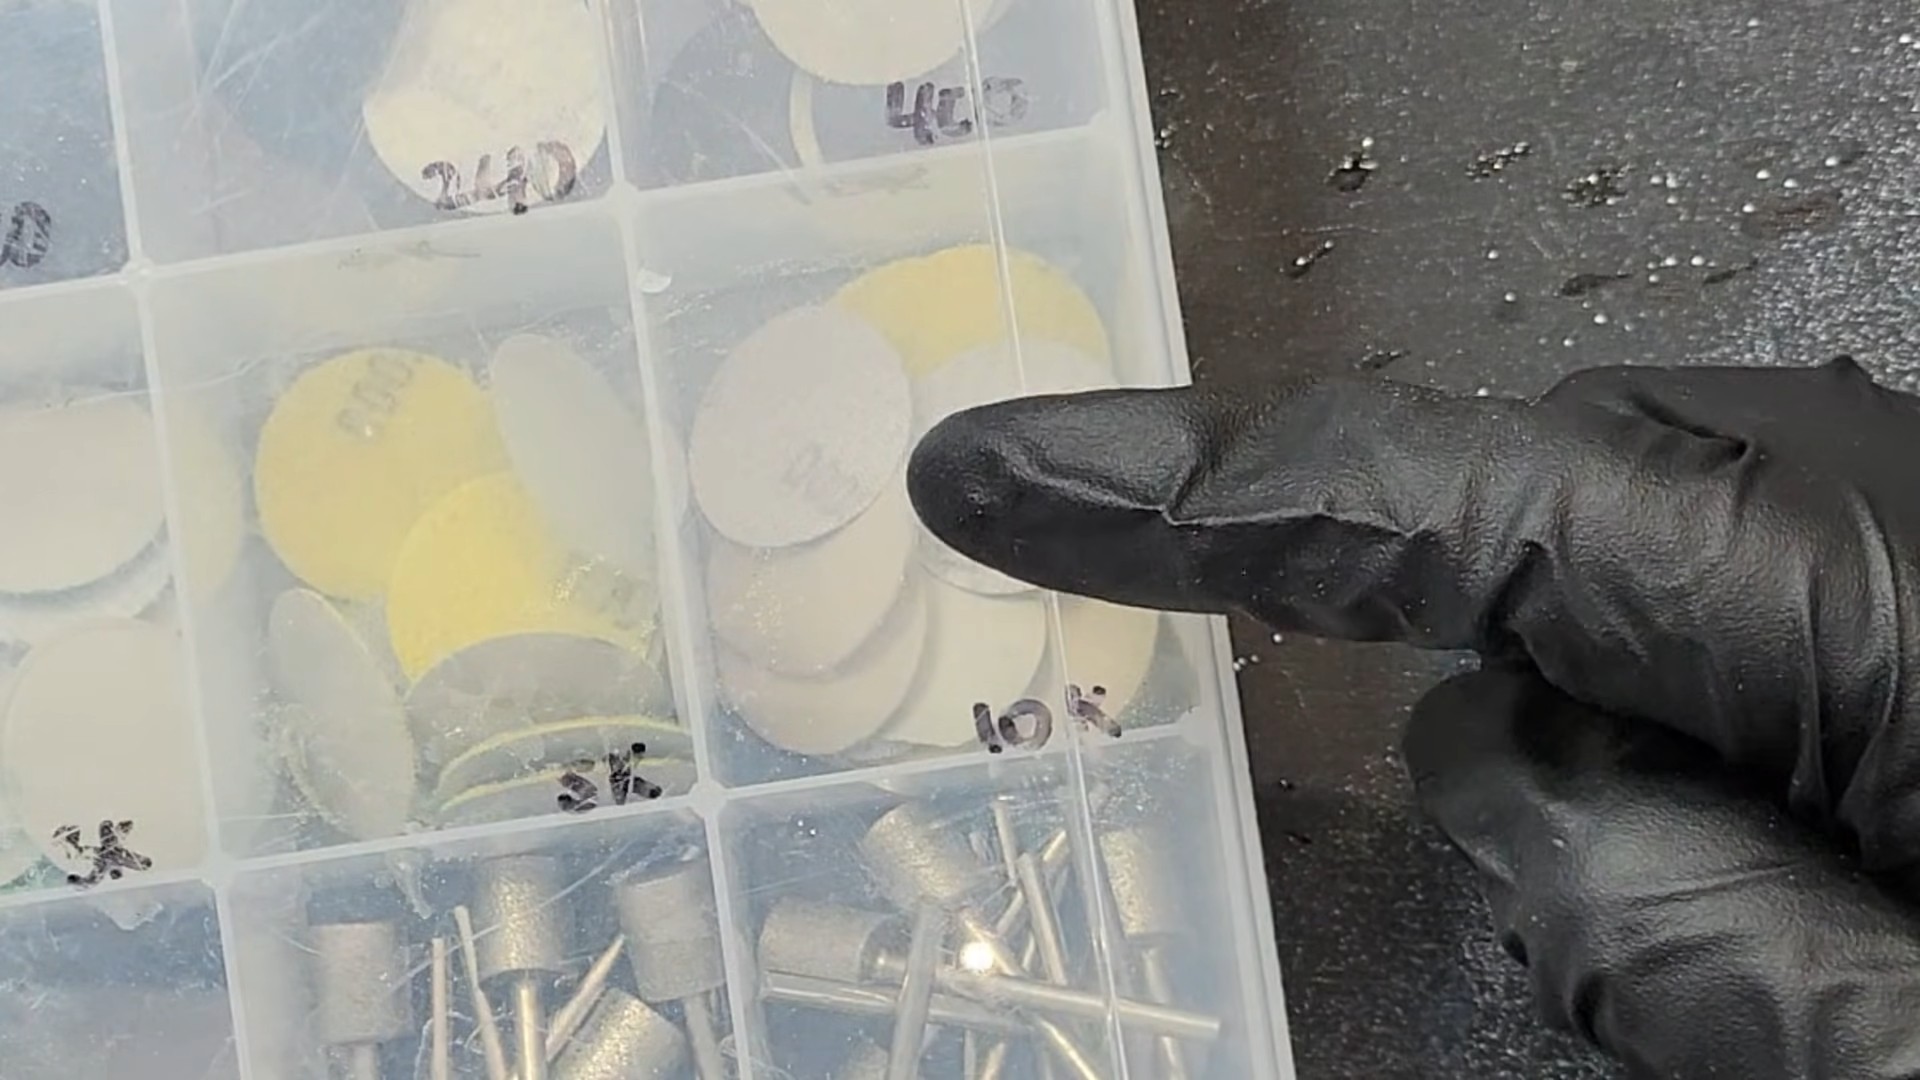
Step 3: Wet-sand through grit progression (15-30 minutes)
This is the stage most beginners skip and then wonder why their stones look cloudy instead of glass-clear. Wrap wet/dry sandpaper around a round sanding drum bit, starting at 220 grit and working through 400, 600, 1000, 2000, and 3000. Keep the stone wet the entire time. Each grit should remove the scratches from the previous grit. if you still see lines, you did not sand long enough. A Dura-Gold 50-sheet assorted wet/dry sandpaper pack covers grits 150 through 3000, everything this stage needs.
Tip: between grits, wipe the rock completely dry and inspect under bright light from a low angle. Any remaining scratches will catch the light. Keep going at that grit until they are gone before stepping up.
Step 4: Final polish with cerium oxide and felt bit (5-10 minutes)
Attach a felt buffing wheel. Apply a thin layer of cerium oxide paste (or whichever polish came with your kit). Run the Dremel at 5,000-10,000 RPM. Work the felt across the stone with light pressure. You are looking for the surface to transition from matte-smooth to glossy within a minute or two of buffing.
If the stone isn’t reaching a mirror finish, the issue is almost always upstream: you stopped wet-sanding too early. No amount of polishing compound fixes 2000-grit scratches. Go back to step 3. (Still cloudy after doing this right? Our troubleshooting guide for cloudy polished rocks walks through the other common causes.)
Common Mistakes to Avoid
- Dry grinding. Dust everywhere, overheating, fracture risk. Always wet.
- Too high an RPM. Faster doesn’t mean better. Heat is the enemy of stone integrity.
- Skipping wet-sand grits. Going from 400 to 2000 leaves scratches polish can’t hide. Every grit matters.
- Holding the stone in a gloved hand near a spinning bit. Use a clamp, a bench peg, or a padded vise for larger pieces. Glove fabric catching in a 15,000 RPM bit will ruin your day.
- Using soft rocks without adjusting expectations. Calcite, fluorite, and similar Mohs-3 stones cannot take the heat a Dremel generates. Stick with Mohs 6-7 for rotary work.
Dremel vs Tumbler: The Honest Tradeoff
| Factor | Dremel | Rock Tumbler |
|---|---|---|
| Time per stone | 30-60 min hands-on | 4-6 weeks hands-off |
| Batch size | 1 at a time | 2-15 lb per run |
| Shape control | High (cabochons, specific shapes) | None (rounds everything) |
| Startup cost | $100-$250 kit | $50-$200 starter |
| Consumables | Burrs, felt, compounds | Grit, compound, media |
| Best for | Cabbing, jewelry, single specimens | Bulk polishing, beginners, kids |
If you are choosing between the two and have to pick one, start with a tumbler. The learning curve is gentler, per-stone effort is near zero, and you end up with dozens of finished stones in one cycle. Add a Dremel later when you find a piece worth individual attention.
The Complete Rock-Polishing Setup
- For bulk polishing and beginners: Best rock tumbler for beginners (4 tested picks)
- Compound & grit decisions: Rock tumbling grit and polish guide
- Polishing without any power tool: How to polish rocks without a tumbler
Frequently Asked Questions
Can you polish any rock with a Dremel?
No. Dremels work well on Mohs 6-7 stones (agate, jasper, quartz, petrified wood). Soft stones like calcite, fluorite, or selenite (Mohs 2-4) cannot take the heat and pressure; they chip or fracture. Very hard stones like corundum or garnet (Mohs 8-9) are possible but slow and burn through diamond burrs fast.
What RPM should I use for rock polishing with a Dremel?
10,000-15,000 RPM for grinding and shaping with diamond burrs, 5,000-10,000 RPM for final polishing with felt wheels. Higher speeds overheat the stone and cause cracks. Variable speed is essential. a single-speed Dremel at 30,000 RPM will destroy soft stones and burn your polishing compound.
Do I need water to polish rocks with a Dremel?
Yes, for two reasons: it keeps the stone cool (preventing thermal fractures) and it suppresses silica dust (which is a health hazard). Use a spray bottle or dip the bit in a cup of water between passes. Wet-grinding also gives cleaner results because the slurry carries abrasive particles to the working surface more evenly than dry grinding.
Can a Dremel make cabochons?
Yes, within limits. Dremels can shape small cabochons (up to about 30mm) if you have patience and steady hands. The Dremel 4300 with flex-shaft attachment is preferred because it is lighter to hold and gives finer control. For professional-quality cabbing at scale, dedicated cabbing machines (with oscillating flat laps) are faster and more consistent, but a Dremel is where most cabbers start.
How long does it take to polish a rock with a Dremel?
Typically 30-60 minutes per stone for a thumb-sized piece, depending on starting condition and desired finish. Rough-shaping is 10-20 minutes, wet-sanding progression is 15-30 minutes, final polish is 5-10 minutes. Very hard or very large stones take proportionally longer.