If you do decide to get a tumbler, our best rock tumblers guide covers the top picks for every budget.
I picked up a chunk of Lake Superior agate last summer. Deep red banding, translucent edges, the whole package. Problem was, it looked like a dirty potato. My tumbler was already running a 6-week batch. I wasn’t waiting.
So I grabbed some sandpaper and went at it by hand. Two hours later, that agate looked like it belonged in a museum case. No tumbler. No fancy equipment. Just wet sandpaper, elbow grease, and a trick with leather I picked up on Reddit.
Here’s the thing: hand polishing actually has advantages over tumbling. You control exactly how much material comes off. You preserve the natural shape instead of rounding everything into generic blobs. And you can polish one rock tonight instead of waiting a month and a half.
Below are four methods I use regularly, ranked from dead simple to semi-advanced. Pick the one that fits your patience level.
Method 1: Wet Sanding With Sandpaper (Best for Beginners)
This is the cheapest way in. You probably have half the supplies already.
What You Need
- Wet/dry sandpaper in progressive grits: 120, 220, 400, 600, 1000, 1500, 3000 (a 45-piece assorted sandpaper set covers all of these for under $10)
- A shallow bowl or bucket of water
- A firm, flat surface (cutting board works great)
- Old towel
Step-by-Step Process
Step 1: Clean the rock thoroughly. Scrub it with an old toothbrush under warm water. Get every bit of dirt out of the crevices. Any trapped grit will scratch your work later.
Step 2: Start with 120-grit. Place the sandpaper grit-side up on your flat surface. Wet both the paper and the rock. Rub the rock against the sandpaper in circular motions with firm, even pressure. You’re shaping here, knocking off rough edges and bumps. Spend 5-10 minutes per side.
Step 3: Move to 220-grit. Rinse the rock completely between grits. This part is non-negotiable. Leftover coarse grit will gouge deep scratches into your nice smooth surface. Repeat the circular sanding.
Step 4: Work through 400, 600, 1000, and 1500-grit. Same process each time: rinse, wet, sand. Each grit erases the scratches from the previous one. By 1000-grit, the rock feels silky smooth. By 1500, you’ll start seeing a dull shine.
Step 5: Finish with 3000-grit (or higher). Take your time here, at least 10 minutes. When you dry the rock off, it should have a visible sheen. If it doesn’t, go back to 1500 and spend more time.
Mistakes That’ll Set You Back Hours
- Keep everything wet. Dry sanding creates silica dust (bad for your lungs) and leaves deeper scratches.
- Don’t skip grits. Jumping from 220 to 1000 means the fine grit has to do way more work. You’ll spend more time, not less.
- Check your work between grits. Dry the rock and look under good light. Still see scratches from the previous grit? Keep going before moving up.
- Softer rocks polish faster. Stones under Mohs 5 (calcite, fluorite) can reach a good polish in under an hour. Quartz-based rocks (Mohs 7) take 2-4 hours.
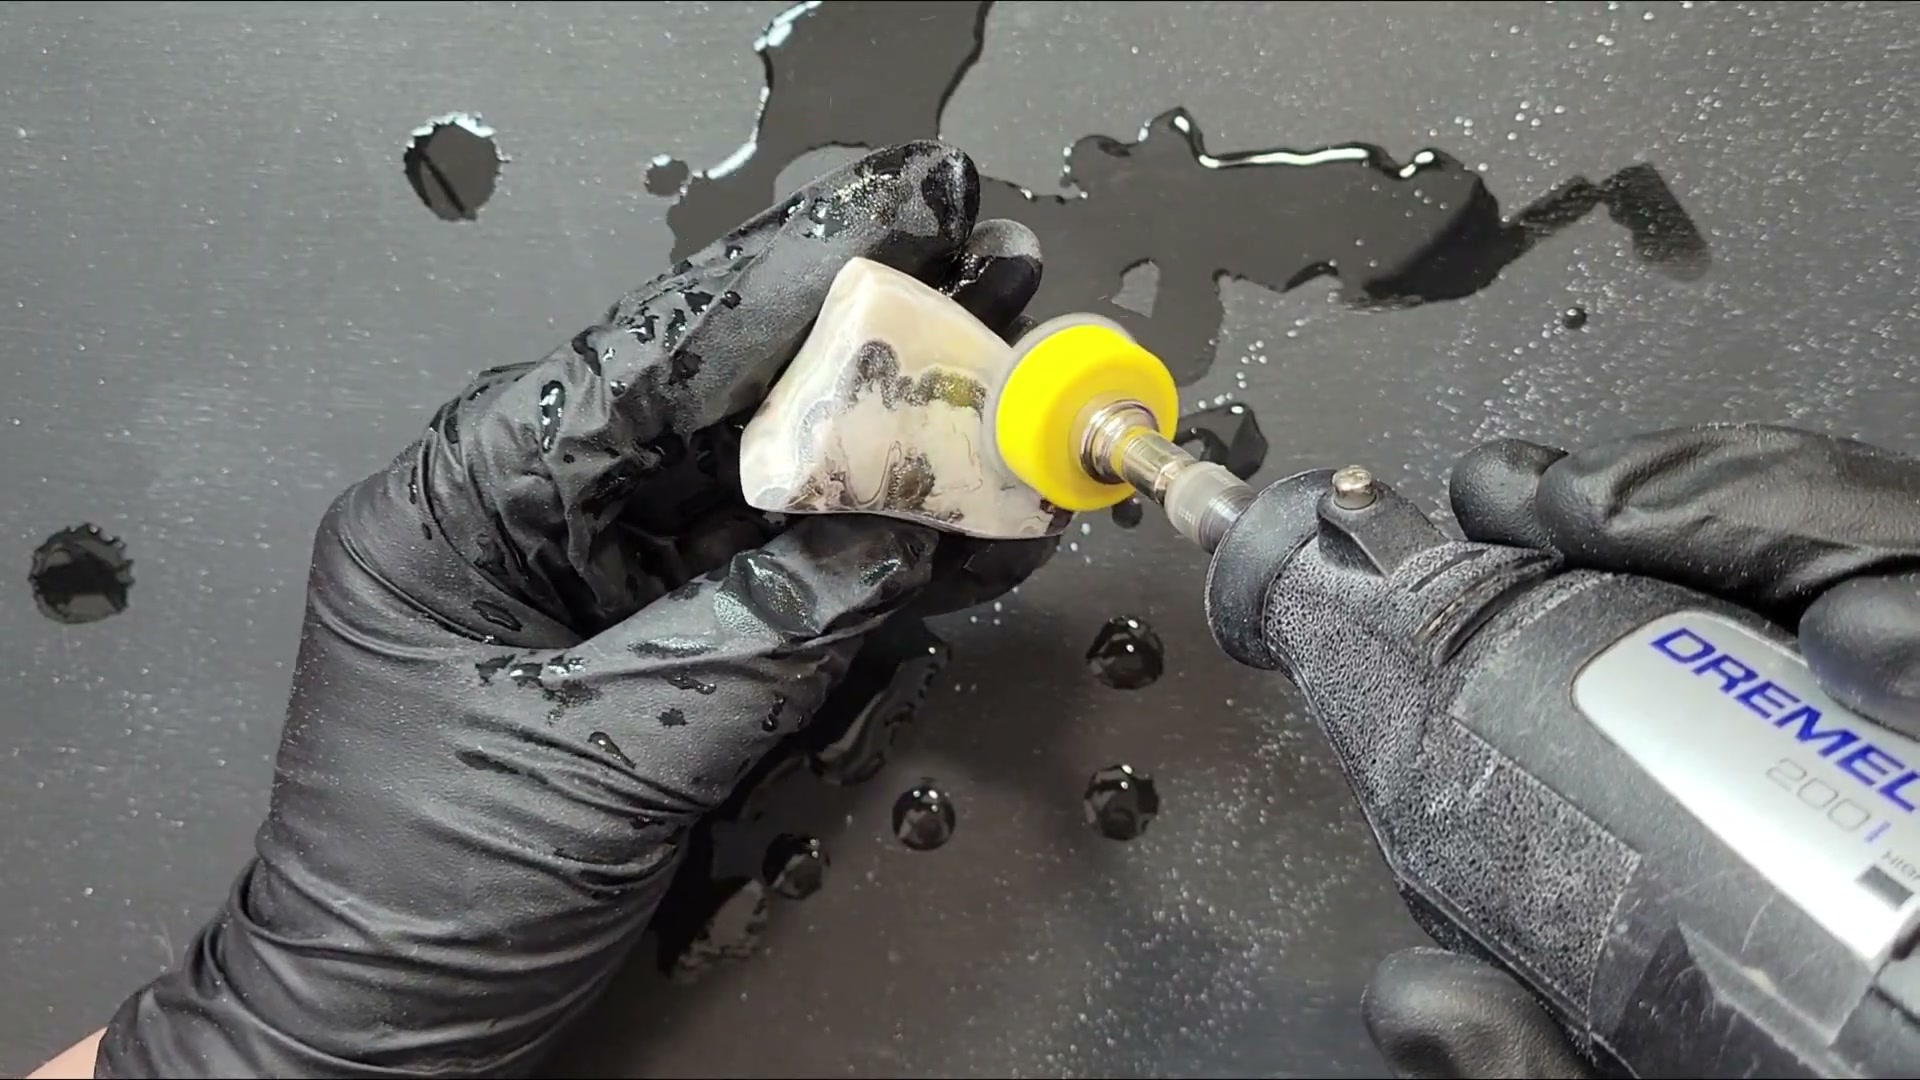
Method 2: Using a Rotary Tool (Dremel)
A rotary tool changes the game for hand polishing. Rocks with weird shapes, detailed surface features, or anything harder than Mohs 6, this is where a Dremel earns its keep.
What You Need
- A rotary tool – the WEN 2305 Rotary Tool Kit is a solid budget pick with a flex shaft and 80 accessories included
- Silicon carbide grinding stones (come with most kits)
- Sanding drums in various grits
- Felt polishing wheel attachment
- Polishing compound (more on this in Method 3)
- Safety glasses, dust mask, and gloves (non-negotiable)
How to Polish With a Rotary Tool
Start slow, literally. Set your speed to 5,000-10,000 RPM for shaping. High speeds generate heat that can crack stones or create thermal fractures you won’t see until the final polish. Ask me how I know.
Shape first with grinding stones. Use coarse grinding bits to remove material. Work in short bursts and dip the rock in water frequently to keep it cool.
Sand with progressive drum grits. Switch to sanding drums: 120, then 220, then 400. Same principle as hand sanding, just way faster. Keep the rock wet by dunking it every 30 seconds or so.
Finish with a felt wheel and compound. Apply a small dab of polishing compound (cerium oxide for quartz-family rocks, aluminum oxide for most others) to a felt polishing wheel. Run at 10,000-15,000 RPM and work the entire surface. The rock will heat up. That’s normal, but take breaks so it doesn’t get too hot to hold.
Here’s where it gets interesting: a user on r/RockTumbling polished serpentine with a Dremel using just progressive sandpaper grits, no compound at all, and got a surprisingly glassy result. The secret was patience and thorough sanding at each stage. Compound helps, but it’s not always mandatory.
Method 3: Polishing Compounds and Pastes (The Final Mile)
Sandpaper and rotary tools do the grinding. Polishing compounds deliver that glass-like shine you see on display specimens. They’re the difference between “smooth” and “wow.”
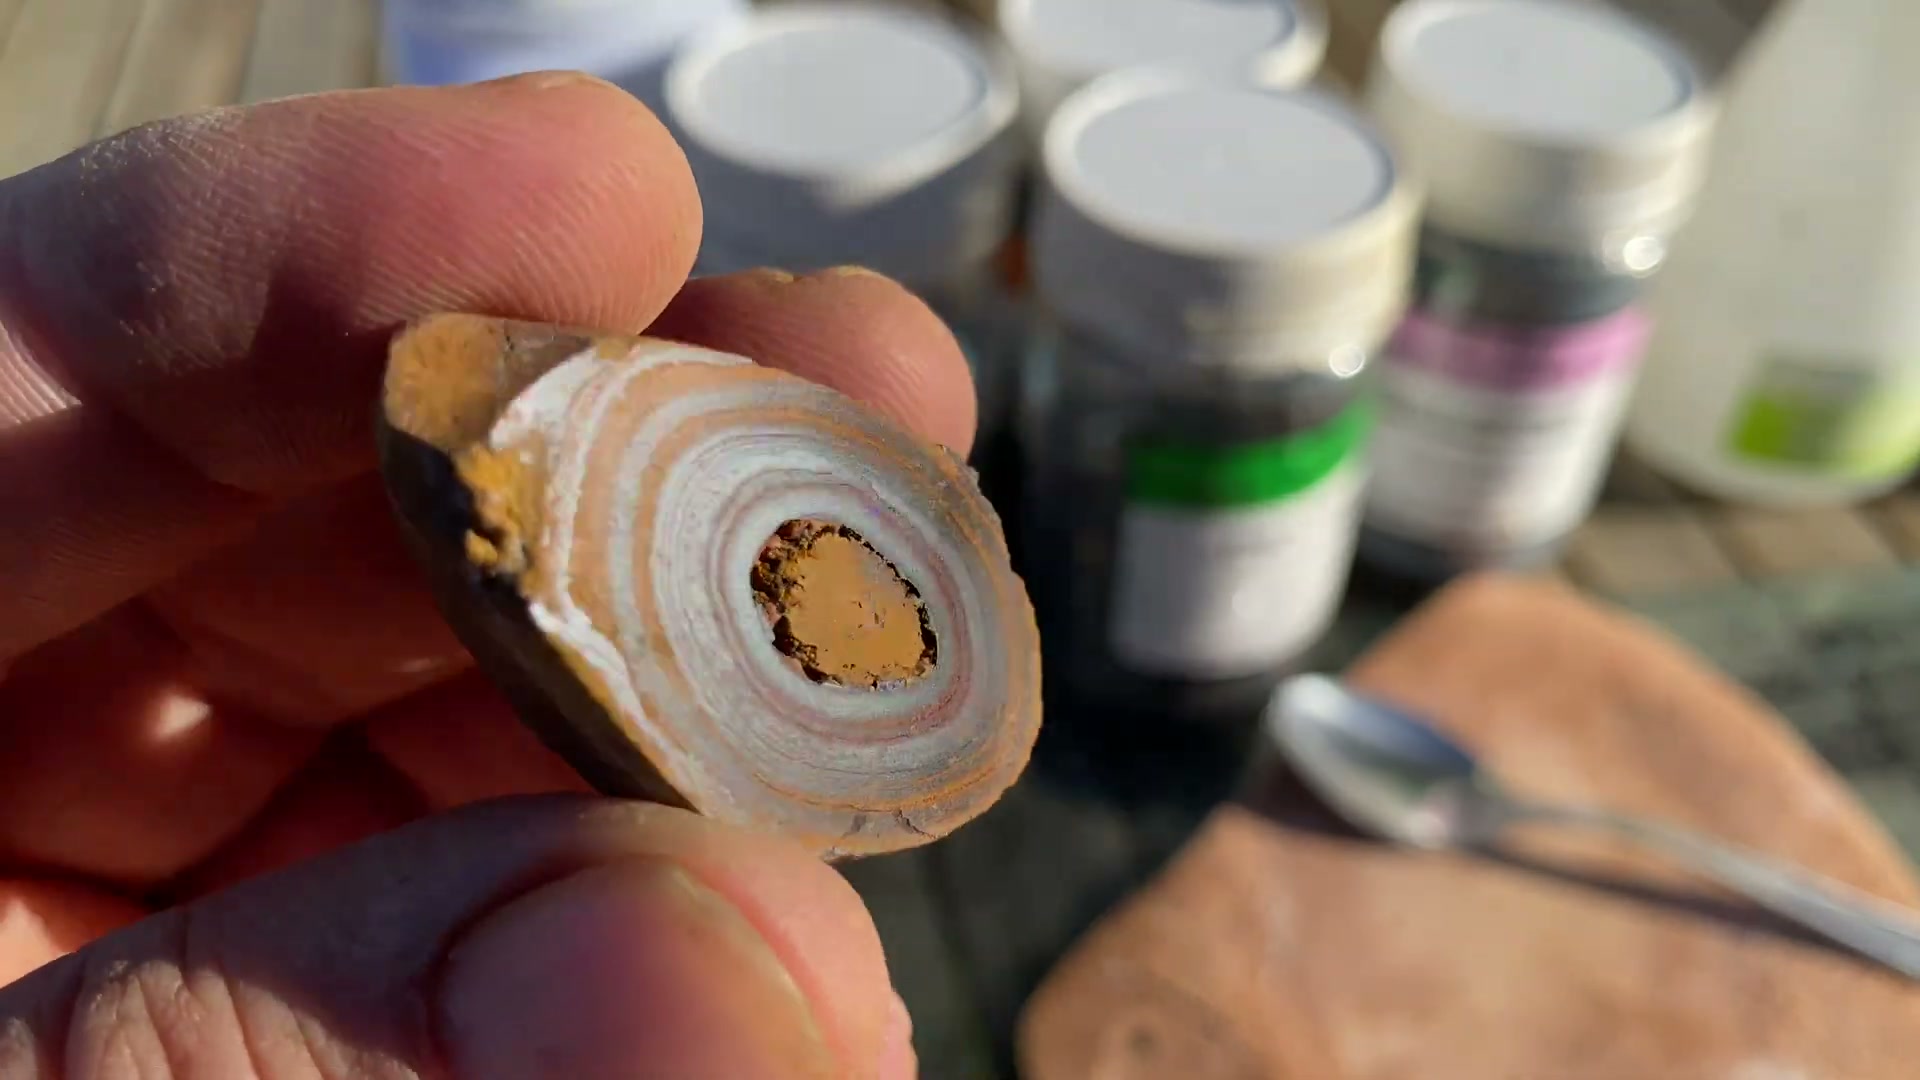
Which Compound for Which Rock?
- Aluminum oxide (8000+ grit): The all-rounder. An 8000-grit aluminum oxide polish gives a high-gloss finish on agates, jasper, quartz, and most common collecting stones.
- Cerium oxide: The go-to for quartz-family stones (agate, jasper, chalcedony, petrified wood). Produces an exceptional shine on anything above Mohs 6.
- Tin oxide: Gentler option. Great for softer stones and obsidian.
- Diamond paste: The nuclear option. Available from 1,000 to 100,000 grit. Expensive, but nothing else touches extremely hard stones like sapphire or topaz.
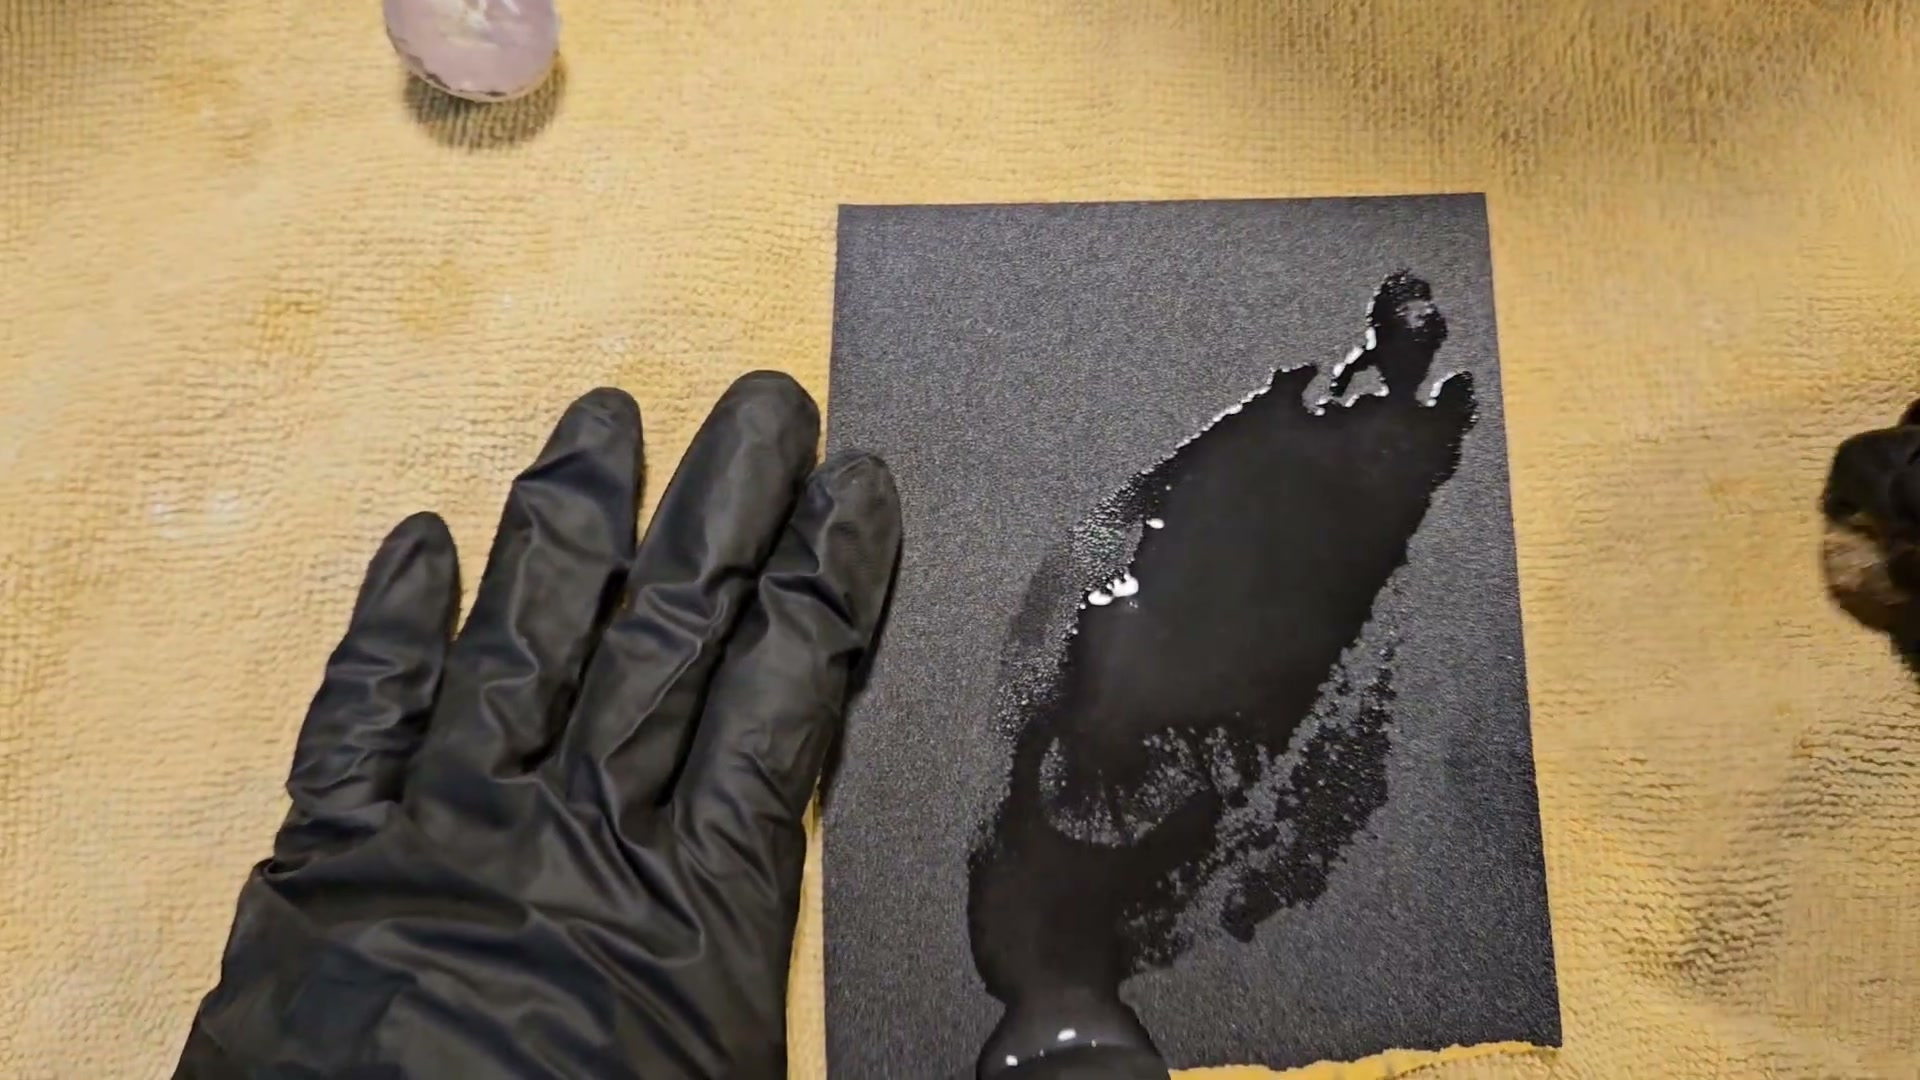
Applying Compound by Hand
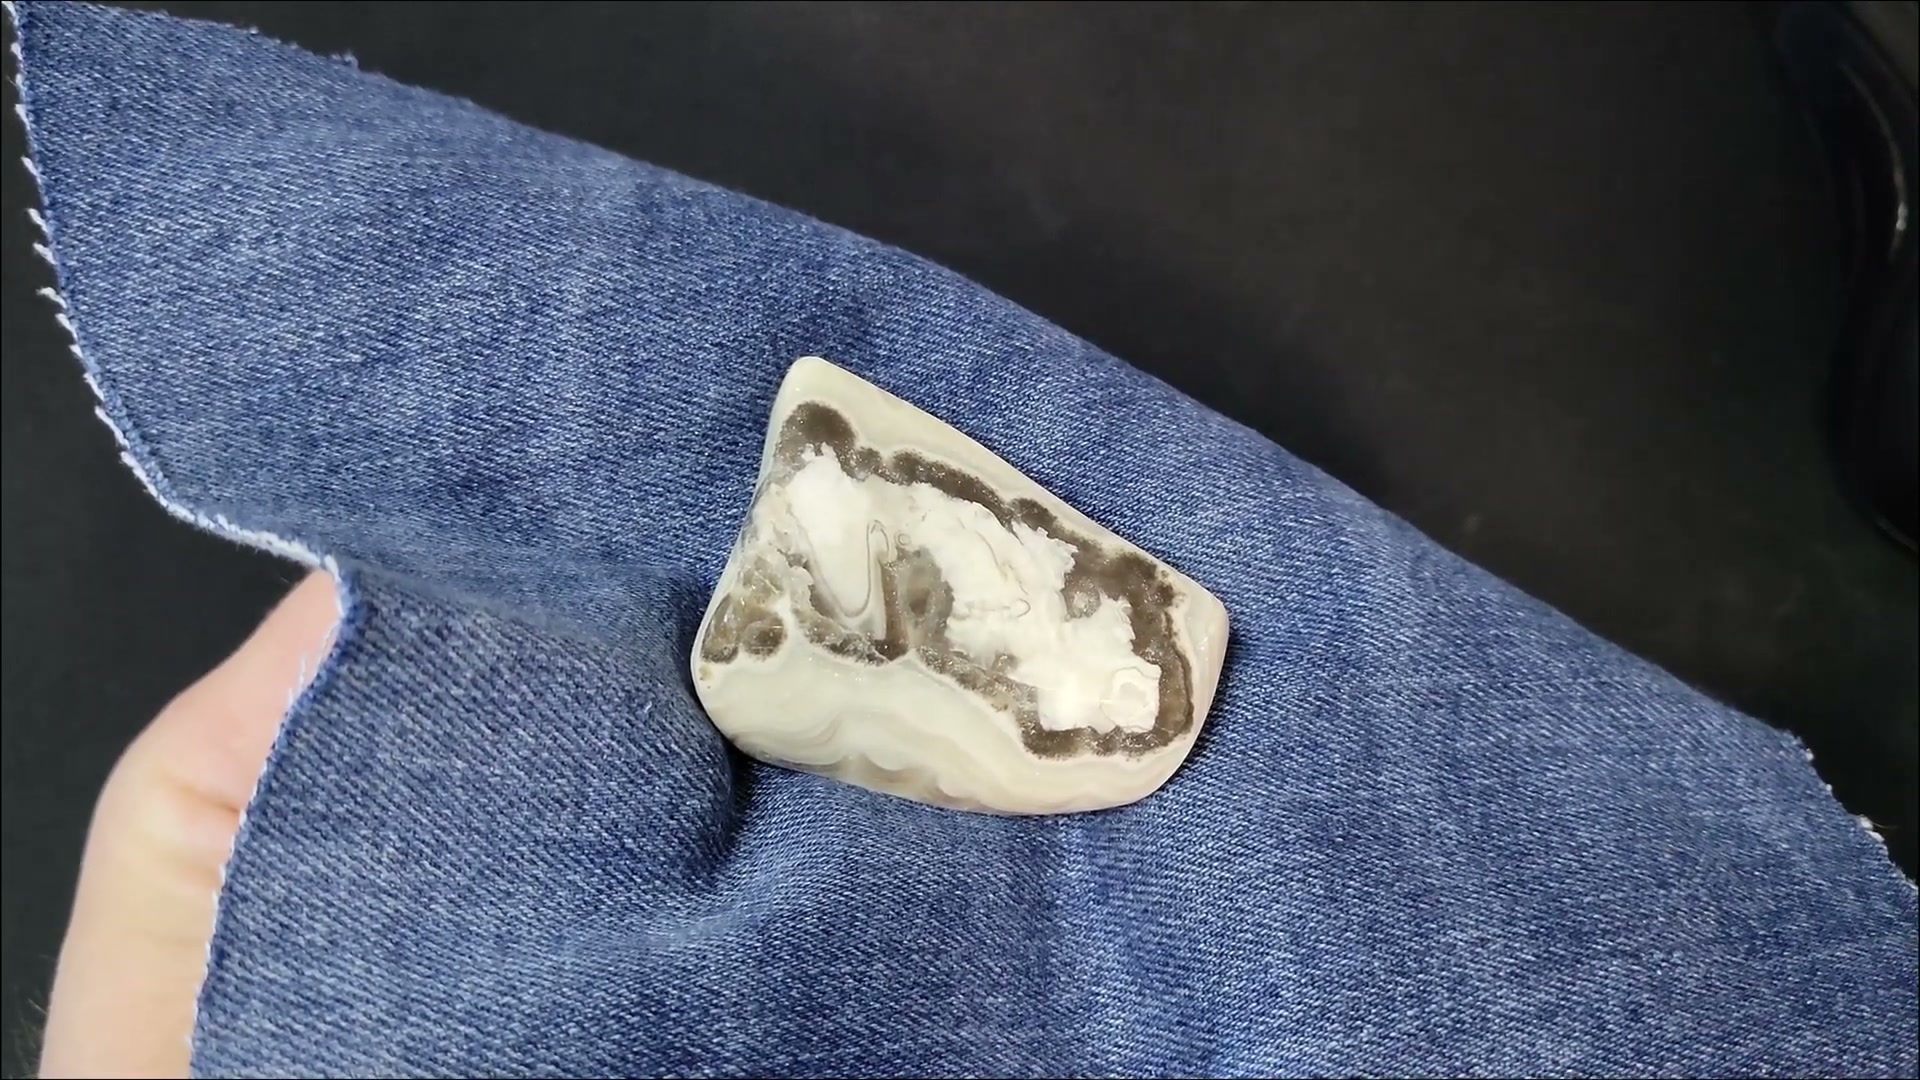
After sanding to at least 1500-grit, apply a small amount of compound to leather, denim, or microfiber cloth. Rub the rock vigorously in circular motions for 10-15 minutes. Add a few drops of water if the compound dries out. Wipe clean, check progress, repeat.
Pro trick from the r/rockhounds crowd: stretch the back of a leather belt over a flat surface as your polishing pad. Works surprisingly well and costs nothing.
Method 4: The Quick Shine (No Sanding Required)
Sometimes you don’t need a mirror polish. You just want to see what’s hiding under that chalky surface. These methods won’t win any lapidary awards, but they’re fast.
Mineral Oil or Baby Oil
Rub a thin coat over a clean rock. Colors deepen instantly, patterns pop. The catch: it evaporates over days or weeks, and the rock goes back to looking dry. Fine for display pieces you don’t mind re-oiling.
Clear Coat Spray
A light coat of clear acrylic spray gives a permanent wet-look shine. You’re adding a layer rather than revealing the natural surface, but for decorative rocks, nobody’s going to call the geology police. Apply thin coats and let each dry completely.
Car Wax
Thin layer, let it haze, buff with a soft cloth. Gives a nice shine and actually protects the surface. Lasts longer than oil but wears off eventually.
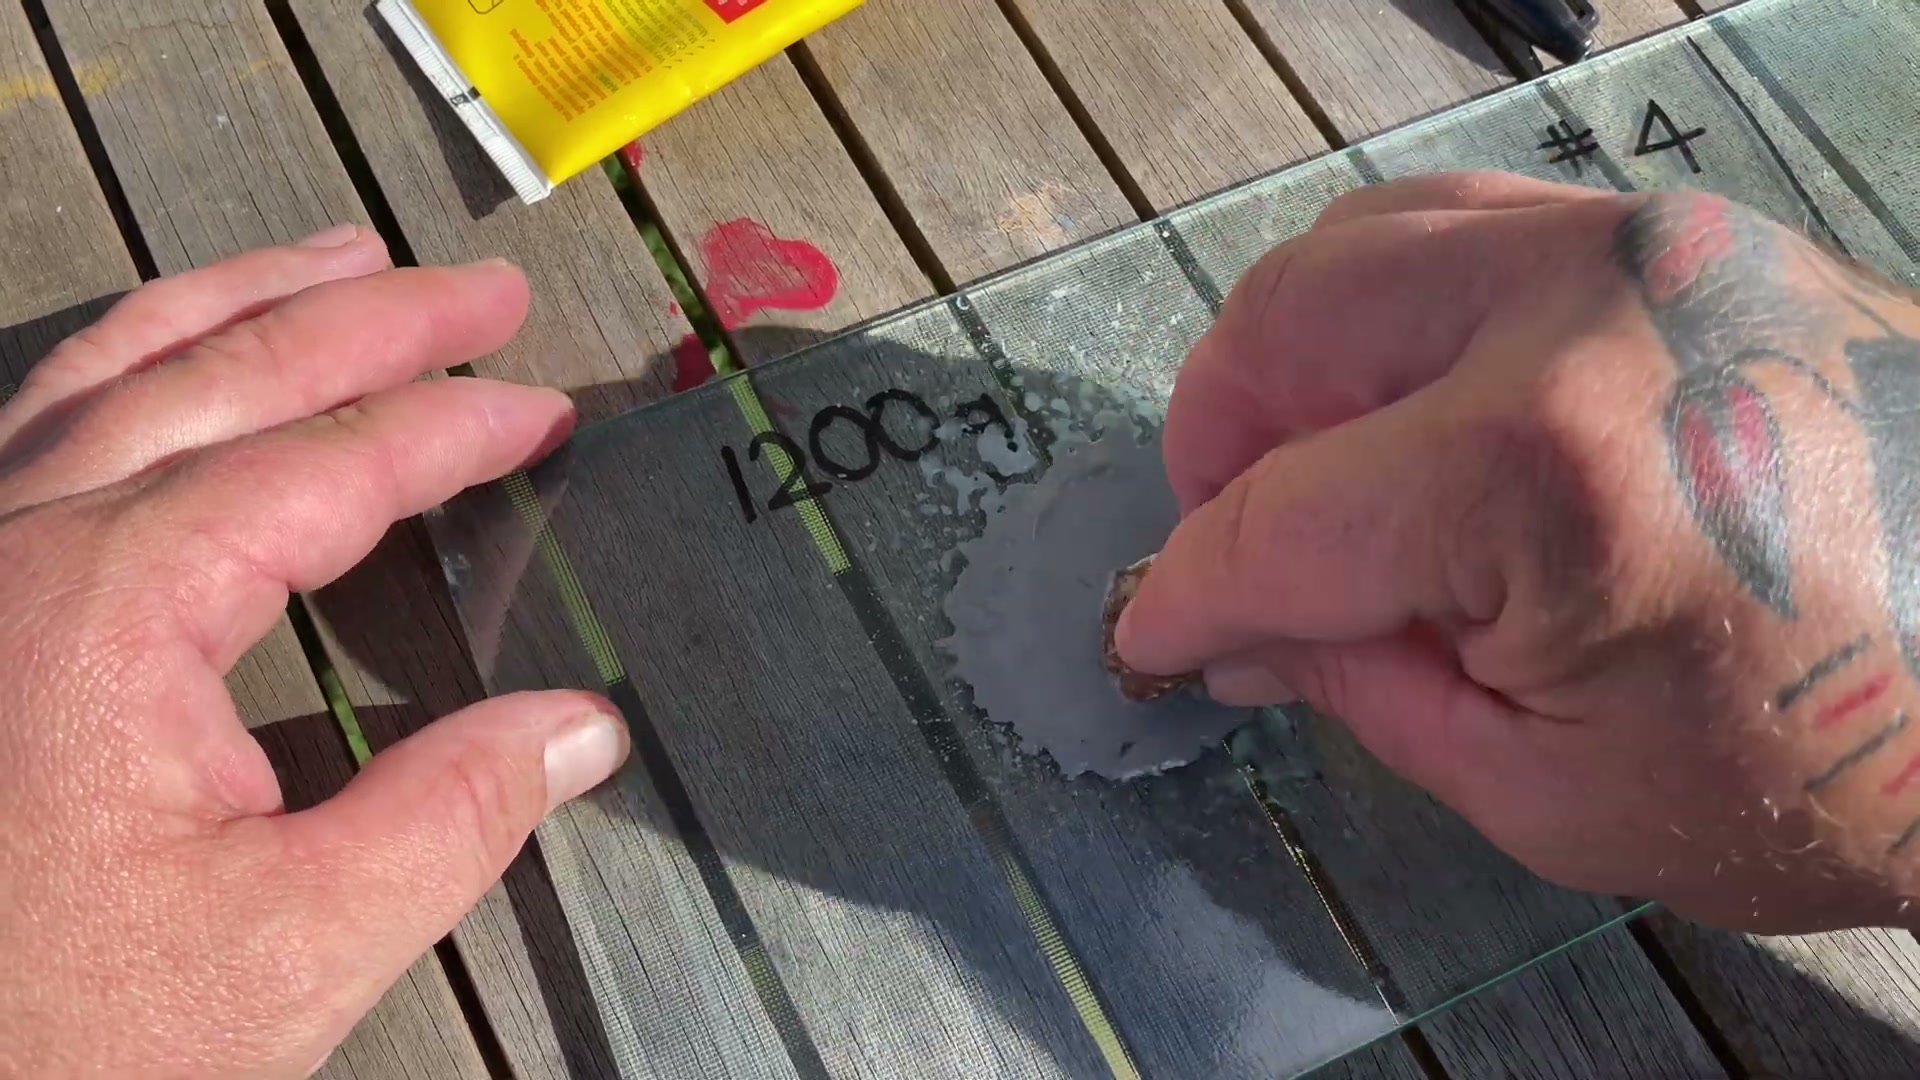
Going Further: Cabochons and Flat Lapping
Once polishing clicks for you, cabochon cutting is the natural next step. Cut a rough slab with a tile saw, shape it with your rotary tool, polish through progressive grits, and you’ve got a gemstone-quality piece ready for jewelry settings.
For showing off banding or internal patterns, try flat lapping: tape sandpaper to a piece of plate glass (the glass guarantees a perfectly flat surface) and work the rock’s flat face across it. Progress through grits normally, finish with compound on leather.
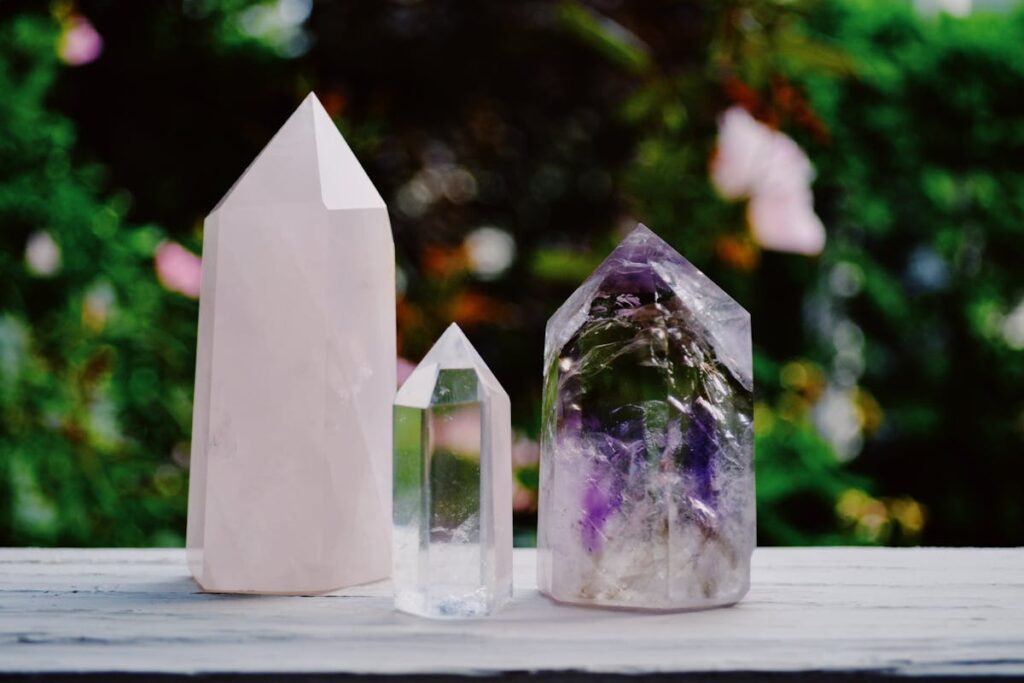
Which Rocks Polish Best by Hand?
Easy mode (Mohs 3-5): Calcite, fluorite, marble, serpentine, alabaster. Shape quickly, polish with minimal effort. Just be gentle, they scratch easily too.
Medium effort (Mohs 5-6): Obsidian, turquoise, lapis lazuli, rhodonite. Obsidian polishes beautifully by hand. It’s volcanic glass. You can get a mirror finish with sandpaper alone.
Serious time investment (Mohs 6-7): Agate, jasper, quartz, petrified wood, tiger’s eye. Most rewarding results, but expect 2-4 hours per rock with sandpaper. A rotary tool cuts that to 30-60 minutes.
Save yourself the grief (Mohs 7+): Garnets, topaz, corundum. You can polish these by hand. You’ll just be sanding until next Tuesday.
When a Tumbler Actually Makes More Sense
Hand polishing is great for individual rocks, but there are times a tumbler wins:
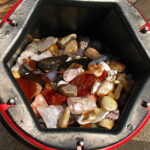
- Volume. Got a bucket of rocks from a collecting trip? A tumbler handles 1-2 pounds at once over 4-6 weeks with almost zero effort.
- Rounded shapes. If you want that classic smooth tumbled look, only a tumbler gets you there. Rocks grind against each other naturally.
- Hard stones in bulk. Polishing a dozen agates by hand is a serious commitment. A tumbler does it while you sleep.
Curious about tumbling? Our beginner’s guide to rock tumbling covers everything. And if you’re comparing machines, the entry-level tumbler comparison breaks down the best options under $100.
Common Mistakes That Ruin Your Polish
- Sanding dry. Always wet sand. Dry sanding creates harmful silica dust and leaves worse scratches.
- Skipping grits. Going from 220 to 1500 leaves deep scratches the finer grit can’t remove. Be methodical.
- Not cleaning between grits. One grain of 120-grit on your rock will ruin your 1500-grit work. Rinse thoroughly every time.
- Death-gripping a Dremel. Let the tool do the work. Pressing hard creates uneven surfaces and overheats the stone.
- Expecting miracles from sedimentary rocks. Limestone, sandstone, and most sedimentary rocks won’t achieve a glassy shine no matter what. Their grain structure won’t allow it.
Frequently Asked Questions
Can you actually get a high polish without a tumbler?
Yes, and on flat or irregular surfaces, hand polishing often looks better than tumbled results. Tumblers excel at rounding, but they can’t selectively polish a flat face or preserve a specific shape. The tradeoff is time: what a tumbler does over weeks, you’ll do in 2-4 focused hours per rock.
What’s the cheapest way to polish rocks at home?
Wet/dry sandpaper. A 45-piece assorted pack runs under $10 and polishes dozens of rocks before wearing out. Add a $5 tube of aluminum oxide polish and your total investment is about $15, compared to $50-150 for even a basic tumbler.
How long does hand polishing take?
Depends on hardness and size. Soft stones like serpentine: 30-45 minutes. Agate or jasper (Mohs 7): 2-4 hours with sandpaper, or 30-60 minutes with a rotary tool. You can stop after any grit and pick up later. The rock doesn’t care.
Is hand polishing rocks safe?
With basic precautions, yes. Always wet sand to avoid silica dust inhalation (this is a real health hazard with quartz). Wear safety glasses with a rotary tool. And if you’re doing any dry grinding, even briefly, wear a dust mask rated for fine particles.
Can I use regular sandpaper instead of wet/dry?
Don’t. Regular sandpaper disintegrates when wet and doesn’t come in the fine grits you need. Wet/dry silicon carbide sandpaper is waterproof, available from 60 to 7000 grit, and costs almost nothing. Use the right stuff.
What to Read Next
- Why Grit Matters: The Science Behind Rock Polishing. Same principles apply whether you’re tumbling or hand polishing
- Best Polishing Compounds for Rock Tumbling (2026). Detailed breakdown of which compound works on which stones
- How to Identify the Best Rocks for Tumbling. Knowing your rock’s hardness is half the battle