Agate is the rock that gets most people hooked on tumbling. There’s a reason for that — when you pull a properly polished agate out of the barrel, the translucency, banding, and depth of color are genuinely stunning. No other common tumbling stone rewards patience quite like agate does.
But agate also exposes every mistake in your process. Skip a step, rush a stage, or mix incompatible hardnesses in the same barrel, and you’ll end up with scratched, cloudy stones that look worse than when they went in. This guide covers everything you need to get agate right, whether you’re tumbling your first batch or trying to figure out why your results aren’t matching what you see online.
Why Agate Is Perfect for Tumbling
Agate sits at 7 on the Mohs hardness scale, which makes it one of the most forgiving stones for beginners while still producing professional-quality results. That hardness means it resists scratching during the tumbling process and takes a brilliant, glass-like polish that lasts without any sealing or coating.
Most agate varieties are also relatively tough, meaning they resist chipping and breaking during the rough grind stage. This combination of hardness and toughness is why experienced tumblers recommend agate as the first stone to learn with.
The other advantage is availability. Agate is found on every continent and comes in dozens of varieties — from Lake Superior agates with their iron-red banding to Brazilian blue lace agates with delicate, layered patterns. You can find tumbling-grade agate at rock shops, online suppliers, and even collected from beaches and riverbeds depending on where you live.
Agate Varieties and How They Tumble
Not all agates behave the same in a tumbler. Here’s what to expect from the most common varieties:
Lake Superior Agate
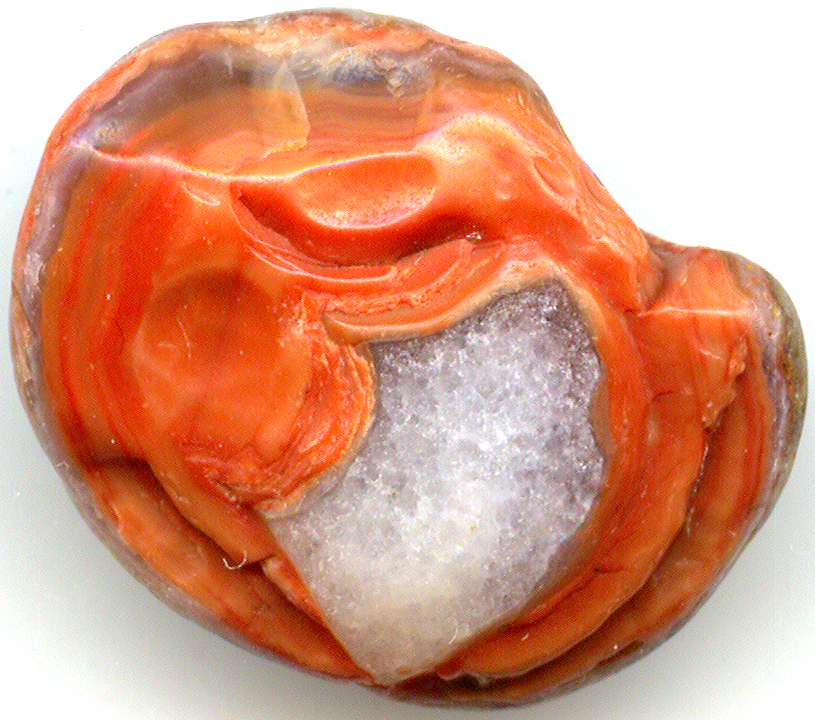
The classic American tumbling stone. Rich reds, oranges, and whites with bold banding. These tumble beautifully and produce some of the most dramatic before-and-after transformations. Their iron content gives them excellent density and they take a mirror polish.
Blue Lace Agate
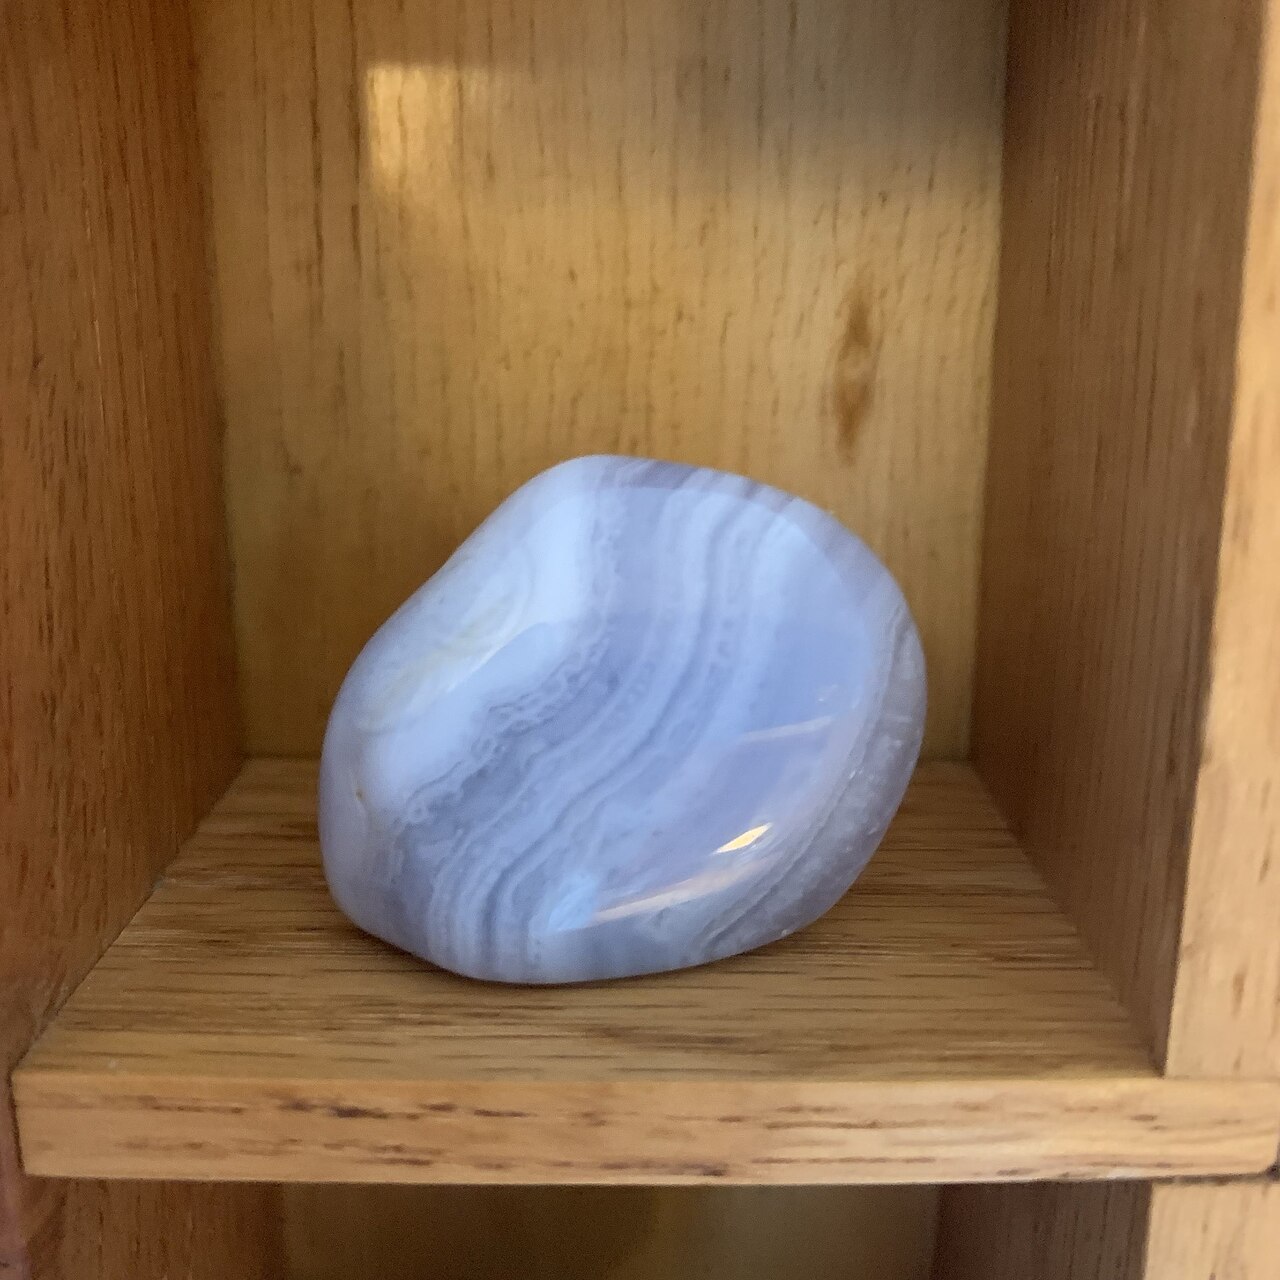
Delicate light blue and white banding. These are softer than most agates and can develop surface pitting if tumbled too aggressively. Use slightly shorter stage 1 times and check frequently.
Moss Agate
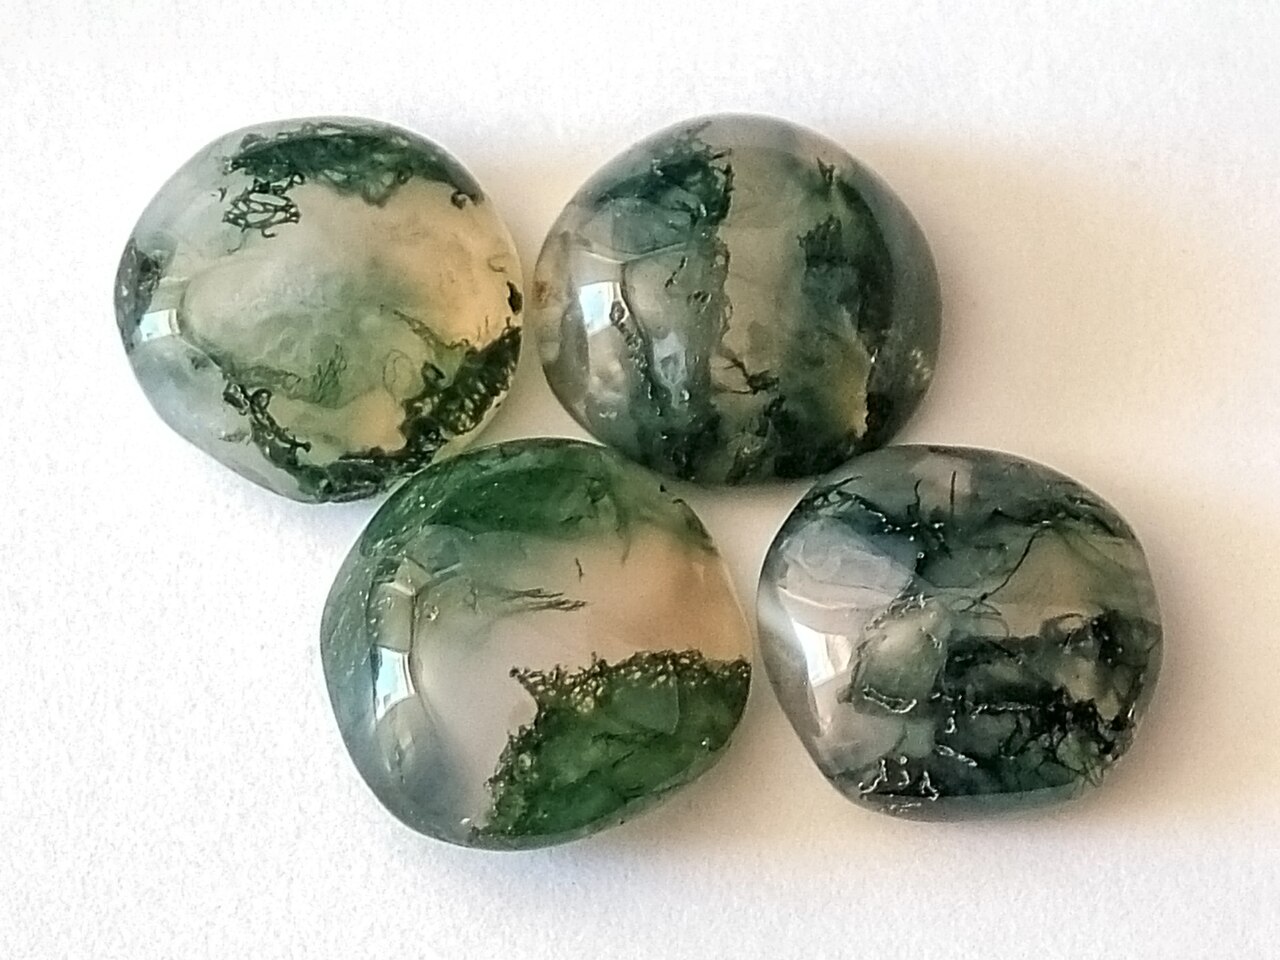
Contains green mineral inclusions (chlorite or hornblende) that create moss-like patterns inside translucent chalcedony. The inclusions can sometimes be softer than the surrounding stone, so watch for uneven polishing. Still produces gorgeous results.
Crazy Lace Agate

Complex, swirling patterns in yellows, reds, and browns. Mexican crazy lace is one of the most rewarding agates to tumble because the patterns are often hidden under a dull exterior and only reveal themselves after polishing.
Botswana Agate
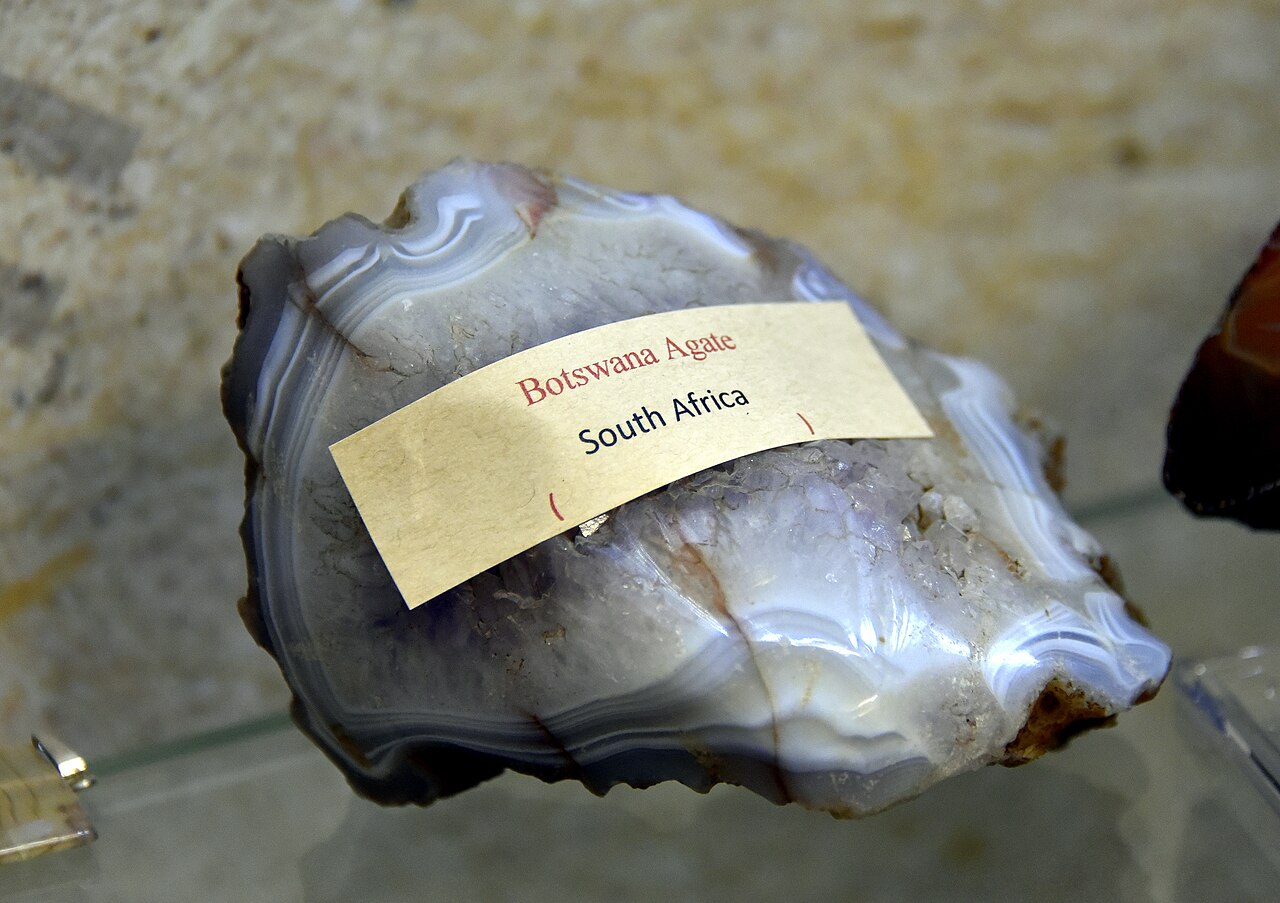
Fine, parallel banding in grays, pinks, and whites. Takes an exceptional polish. These are typically purchased rather than collected, but the results justify the cost.
Fire Agate
Contains layers of iridescent limonite that produce a play of color similar to opal. Fire agate is better suited to hand polishing or cabbing than tumbling, as the iridescent layer is thin and can be ground away during coarse stages. If you do tumble it, start at stage 2 (medium grit) with pre-shaped stones.
Dendritic Agate
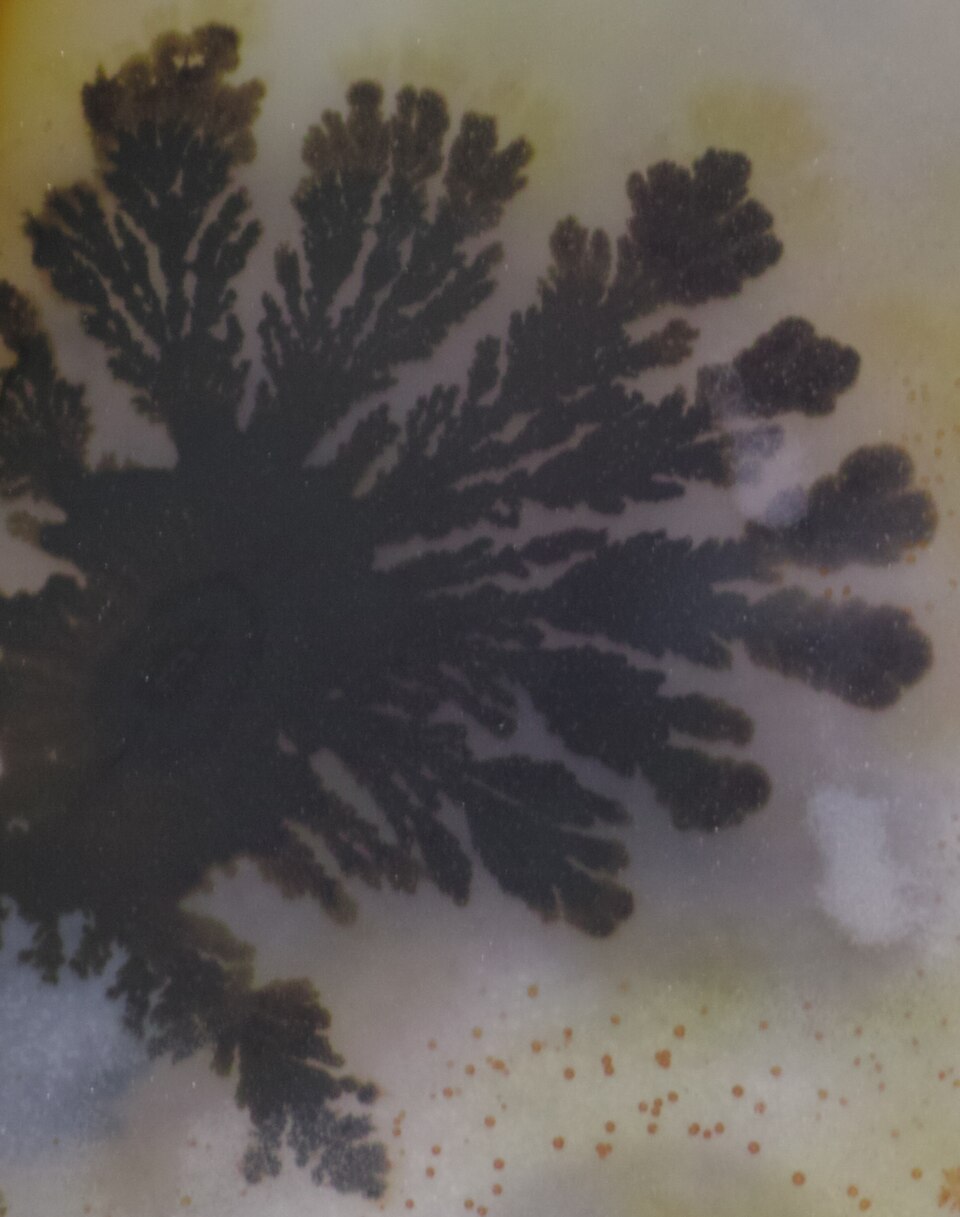
Features tree-like manganese oxide inclusions in translucent chalcedony. Tumbles well and produces striking display pieces. The dendrites are locked within the stone structure and won’t be affected by tumbling.
What You Need
Before you start, make sure you have:
- A rotary rock tumbler : A National Geographic Hobby Edition Rock Tumbler is the gold standard for beginners, or a C1 Pro Max Professional Rock Tumbler if you want a double-barrel setup. For budget options, check our entry-level tumbler comparison.
- Silicon carbide grit set: You need four stages: 60/90 coarse, 150/220 medium, 500 fine (or pre-polish), and aluminum oxide or cerium oxide polish. A 4-step rock tumbling grit kit saves money over buying stages individually.
- Ceramic tumbling media: ceramic tumbling media pellets fill gaps between stones, cushion impacts, and ensure even grinding. Essential if your barrel isn’t completely full of rocks. Read our tumbling media guide for the full breakdown.
- Agate rough : Look for pieces between 1 and 3 inches. Avoid anything with visible cracks, vugs (holes), or extremely thin sections. Most online rock shops sell tumbling-grade agate by the pound.
Step-by-Step: Tumbling Agate
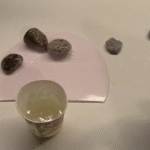
Preparation
Sort your agates by size and inspect each one. You want pieces that are roughly similar in size — large pieces will grind down smaller ones unevenly. Remove any stones with deep cracks, as these will break apart during tumbling and contaminate your barrel with sharp fragments.
If you have agates of wildly different sizes, either tumble them in separate batches or use ceramic media to cushion the smaller pieces. Fill your barrel to about 2/3 to 3/4 full with a mix of rocks and media.
Critical rule: Only tumble stones of similar hardness together. Agate (7 Mohs) should never share a barrel with softer stones like calcite (3), fluorite (4), or even some jaspers that have softer inclusions. Mixing hardnesses means the softer stones get destroyed while the harder ones don’t get shaped properly.
Stage 1: Coarse Grind (60/90 Grit)
This is where rough, angular rocks get shaped into smooth, rounded forms. Add enough water to just cover the rocks, then add 2 tablespoons of 60/90 silicon carbide grit per pound of rock.
Run time: 7 to 10 days
Agate is hard, so it takes longer than softer stones. Check your barrel at day 7. You’re looking for:
- All sharp edges removed
- Smooth, rounded shapes
- No pitting or deep scratches remaining
- The shape you want the finished stone to be
If stones still have flat faces, angular edges, or deep surface flaws, run longer. There’s no penalty for extra time in stage 1 — you can’t over-tumble here. What you can’t do is fix shape problems in later stages. Stage 1 determines your final shape. Period.
After this stage, clean everything thoroughly. Every grain of coarse grit must be removed from your rocks, barrel, and lid. Even a single grain of coarse grit contaminating stage 2 will scratch every stone in the batch. Rinse rocks individually under running water, scrubbing with an old toothbrush around any crevices.
Stage 2: Medium Grind (150/220 Grit)
This stage smooths out the surface left by coarse grit. Same water level, 2 tablespoons of 150/220 grit per pound of rock.
Run time: 7 days
After this stage, your agates should feel smooth to the touch with no visible scratches when dry. If you can see or feel scratches, run stage 2 again with fresh grit. Moving forward with visible scratches is the number one mistake — they won’t come out in later stages.
Clean everything thoroughly again between stages. Same protocol as before.
Stage 3: Fine Grind / Pre-Polish (500 Grit)
This prepares the surface for polish. The grit is so fine it’s almost like powder. Same water level, 2 tablespoons per pound.
Run time: 7 days
After this stage, stones should have a slight sheen when dry. They won’t be glossy yet, but they should look noticeably different from stage 2. The surface should be completely free of any visible scratches, even under good light.
The fingernail test: Run your fingernail across the surface. If you can feel any scratches, go back. This is non-negotiable for agate — any scratch that survives stage 3 will show up as a visible defect in the polish.
Stage 4: Polish
This is where the magic happens. Replace silicon carbide with aluminum oxide polish (for a reliable finish) or cerium oxide (for maximum gloss on agate specifically).
Add water and 2 tablespoons of aluminum oxide tumbling polish per pound of rock. Some tumblers add a small amount of sugar or ivory soap shavings to thicken the slurry — this keeps the polish in contact with the stone surface longer.
Run time: 7 to 10 days
Check at day 7. Your agates should have a glassy, reflective polish. If some stones are polished but others aren’t, the unpolished ones likely had surface issues from earlier stages. Remove the polished stones and run the others for a few more days.
Optional: Burnishing Stage
After polishing, some tumblers run a final burnishing stage with just water and a tablespoon of grated Ivory soap or a small amount of borax. This cleans residual polish from the surface and can enhance the final shine slightly.
Run time: 2 to 3 days
This step isn’t strictly necessary, but it does produce a cleaner-looking final product, especially if you plan to seal or coat your stones.
Common Mistakes When Tumbling Agate
Rushing Stage 1
The most common mistake. If your stones aren’t perfectly shaped after coarse grind, no amount of polishing will fix them. Run stage 1 as long as needed.
Cross-Contamination Between Stages
A single grain of coarse grit in your polish stage will scratch every stone in the barrel. Clean obsessively between stages. Some serious tumblers keep separate barrels for each stage to eliminate any risk.
Mixing Hardnesses
Tumbling agate with softer stones like calcite, howlite, or soft jasper will destroy the softer material and produce poor results on everything. Keep agates with other agates, or with stones of similar hardness (7+) like jasper, tiger’s eye, or petrified wood.
Not Enough Media
If your barrel is less than 2/3 full, your stones are bouncing around instead of rolling. This causes bruising, chips, and uneven polishing. Use ceramic media to fill gaps.
Tumbling Cracked Agates
Cracks filled with softer material or air will cause the stone to break apart during tumbling, contaminating the entire batch. Inspect carefully before loading. When in doubt, leave it out.
Using the Wrong Polish
Aluminum oxide works well on agate, but cerium oxide often produces a superior finish. Experiment with both. TXP (tin oxide) is another option that some tumblers swear by for quartz-family stones.
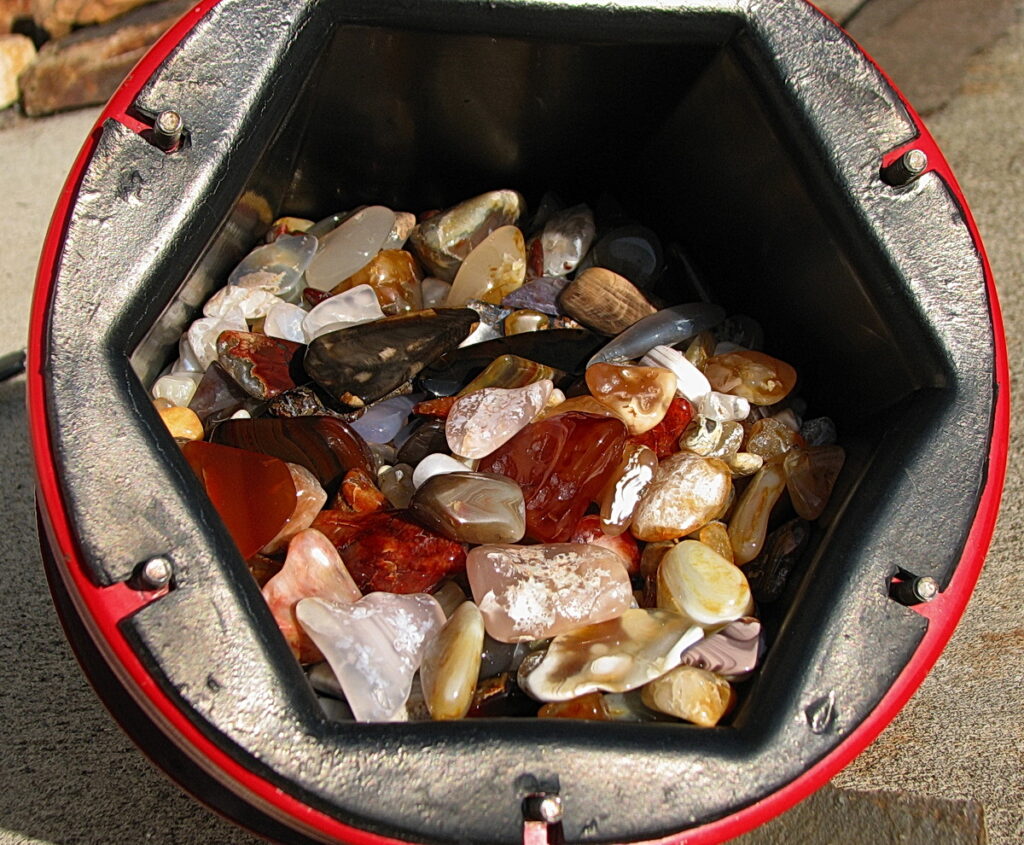
How to Tell If Your Agate Is Ready
A properly tumbled agate should:
- Have a mirror-like reflective surface
- Show depth and translucency when held up to light
- Feel glass-smooth with no detectable scratches
- Show enhanced color and banding compared to its rough state
- Not have a “waxy” or “greasy” appearance (this indicates surface residue, not true polish)
If your agates come out cloudy or hazy, the problem almost always traces back to either contamination between stages or insufficient time in stages 1-3.
Where to Find Agate for Tumbling
- Beach collecting — Lake Superior, Oregon coast, and many coastal areas have collectible agates
- River gravels — Check riverbeds and exposed gravel bars, especially after flooding
- Rock shops and gem shows — Buying tumbling rough by the pound is the most reliable way to get consistent, quality material
- Online retailers — Amazon, Etsy, and specialty rock suppliers sell tumbling-grade agate. A bulk rough stones mix for tumbling is a great starting point.
- Rockhounding clubs — Local clubs often organize group digs and share collection sites
Agate vs Other Popular Tumbling Stones
| Stone | Mohs Hardness | Tumbling Difficulty | Polish Quality |
|---|---|---|---|
| Agate | 7 | Easy-Medium | Excellent (glass-like) |
| Jasper | 6.5-7 | Easy | Very Good |
| Obsidian | 5-5.5 | Medium | Excellent |
| Tiger’s Eye | 6.5-7 | Easy | Very Good |
| Petrified Wood | 6.5-7 | Easy | Good-Excellent |
| Quartz | 7 | Medium | Excellent |
| Moonstone | 6-6.5 | Difficult | Good |
Agate and jasper are the best starting stones for beginners. Both are forgiving, widely available, and produce impressive results. Once you’ve mastered these, you can move on to more challenging stones like obsidian or exotic varieties like opal and tanzanite.
Final Tips
- Keep a tumbling journal. Record what went into each batch, how long each stage ran, and the results. This is how you dial in your process over time.
- Don’t open the barrel every day. Each time you open it, you lose slurry consistency and effectiveness. Check at the recommended intervals, not daily.
- Temperature matters. If you’re tumbling in a cold garage, stages may take longer. Our climate and tumbling guide covers seasonal adjustments.
- Save your best rough. Once you’ve refined your process on cheaper material, run your premium agates with confidence.
- Consider a vibratory tumbler for the final polish. Some tumblers switch to a vibratory unit for stages 3 and 4 because it preserves more of the stone’s natural shape while producing a superior polish.